
Prepare yourself for lots of pictures of argyle. I don't necessarily want a theme for the nursery, but I thought argyle would add a nice touch to the room. My inspiration came from Pinterest. See here. So cute, right?
First a quick "before"picture. When we moved in to the house this room was super colorful. Very rainbow-like. We ultimately painted it a light khaki color, ripped out the carpet and installed hardwood floors. It was a huge improvement!
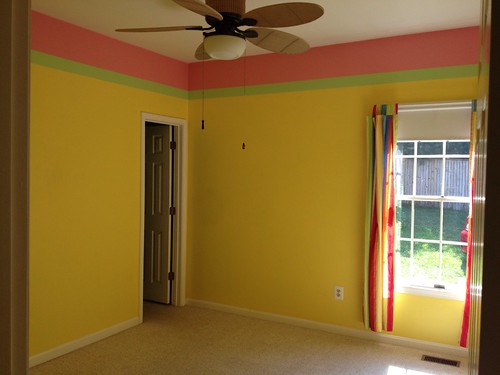
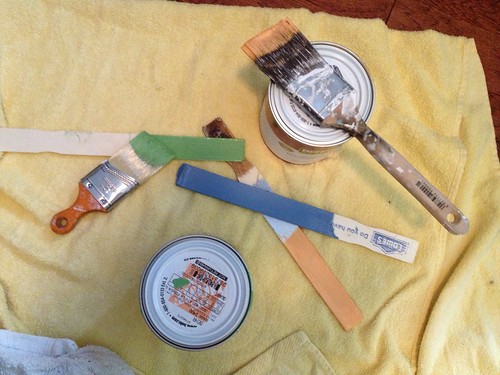
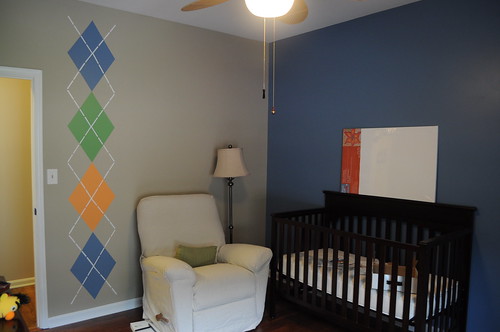
Fast forward back to today. We picked a neutral khaki color for the walls figuring that this room would one day be a nursery and khaki is gender neutral. Now that a boy is expected to occupy this space it was time to choose some accent colors. We decided on some safe blue and green, plus a small touch of orange.
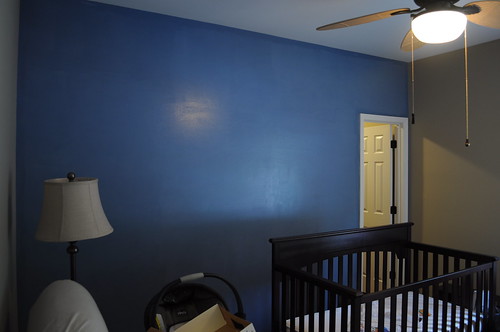
The first step was to paint an accent wall. I gave in to gender stereotypes and picked the blue.

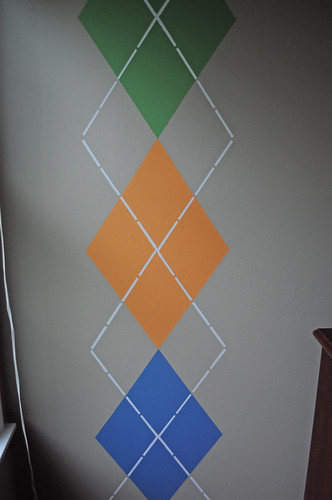
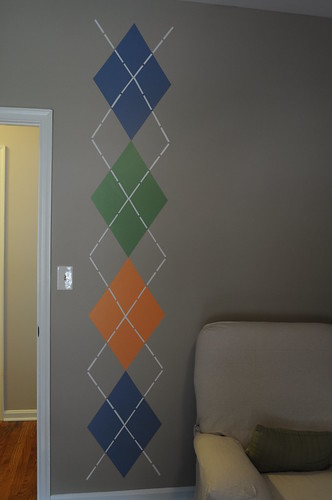
Next up was starting the argyle pattern. I decided to add the design to two of the walls. A lot of this design was really just an exercise in math and geometry. I pulled out a level, tape measure and pencil and started sketching out the design. Since our ceilings are 9' tall I went with a design of four diamonds, each two feet tall.
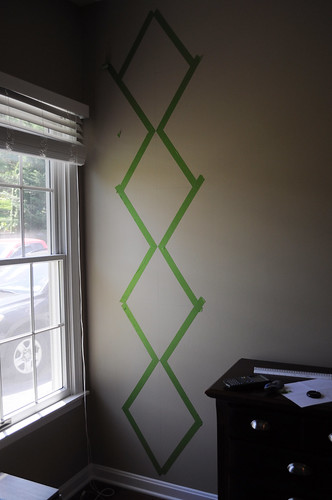
After taping the outline of the diamonds it was time to add color. Things went pretty smoothly up to this point. And actually quite quickly too! Thank you Frog Tape.
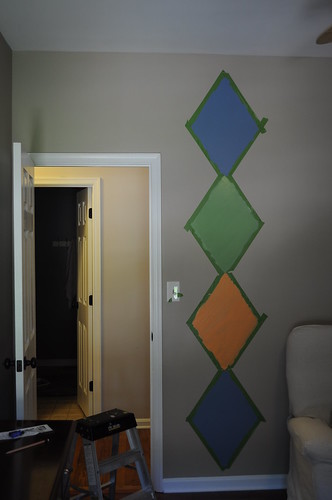
Then things got a little more tricky. It was time to paint the stitch pattern that overlaps the diamonds. I considered free-handing it but decided that it would look much cleaner if I taped it out. Talk about tedious. So more measuring and more taping. I used a lot Frog Tape for this step. A shameful amount actually.
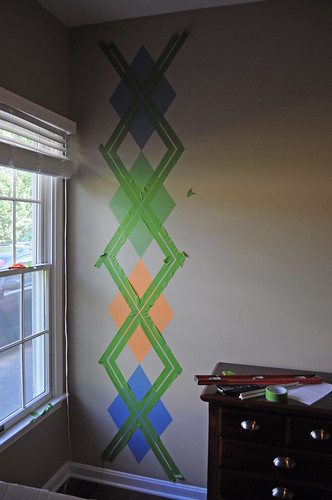
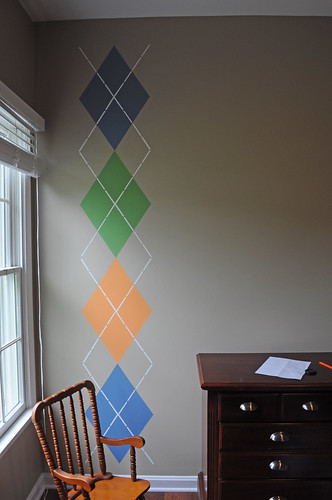
Thankfully, things got easy again once the taping was done. Just a few swipes of white paint. And as annoying as it was to tape everything out, I'm pretty sure this was the easiest way to do it. My semi-steady hand would not have produced such clean results without the tape.

The white stitch definitely brought the whole design together. When it was just colored diamonds on the wall I was a little nervous. It was reminding me too much of a clown or circus theme. But argyle is so much more classy haha.
I finished up the design on the second wall the next day. (I needed to regain my patience for the taping.)
So now at least the painting portion of the nursery is done. Hooray for progress! There are still some things I want to do in the room, but this was a good start. And now back to the kitchen...


I LOVE this. Thank you for sharing the process - I am doing something very similar in our nursery (getting ready for a little one next month) and I didn't want a full argyle wall, but love this single row on a couple walls. Now I know what I need to do! :)
ReplyDelete