Showing posts with label fondant. Show all posts

Friday, April 11, 2014

Baptism Cake

This post has been sitting as a draft for a couple of months now. We had a baptism for Baby G in February so yes, its been that long.

Much like this post, it took us a while to get things squared away for the baptism. At 6 months old, Baby G was looking sharp in his 12-18 month baptism outfit. Yes, that's right.... 12-18 month.

We invited mostly family to the baptism and I tried keeping the food pretty simple. Chicken salad sandwiches and pulled pork... from Costco, of course. However I really wanted to make the cake. I'm determined to get back into doing little crafty projects here and there. So I tasked myself with making a cake.
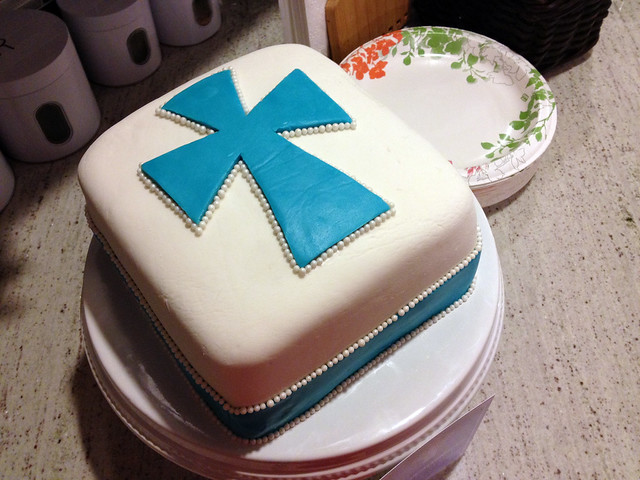
photo-2

As usual Pinterest had some good pictures for inspiration. Apparently baptism cakes can get pretty extravagant. Obviously, that's not what I was looking for. But here are some ideas I did like: here, here, and here. Basically anything that looked like it involved just placing a cross on the cake I was all about.

Since hours in the day seem pretty tight these days, I spaced out the cake making during one week. I baked and froze the cakes early in the week. And then made the fondant a couple days before I needed it. And actually, like the monkey cake I made, I saved some time by also buying a container of fondant. I bought some Fondarific fondant from Amazon and I must say, I'm a fan! So basically all the parts were prepared ahead of time and assembly happened the night before the baptism.
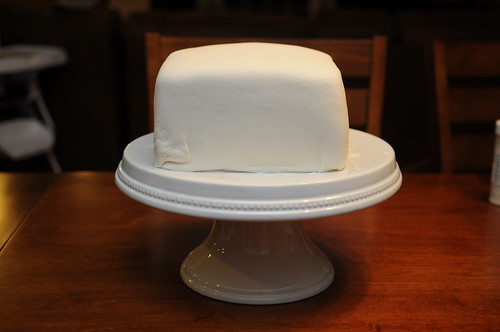
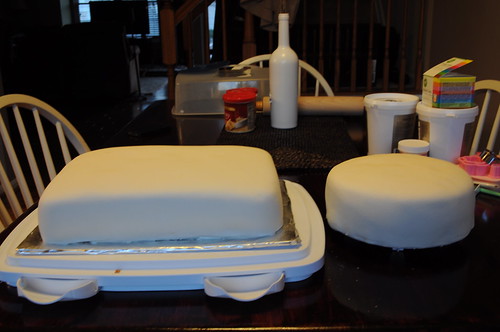
DSC_0804

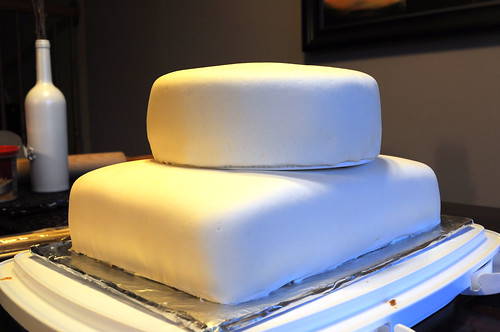
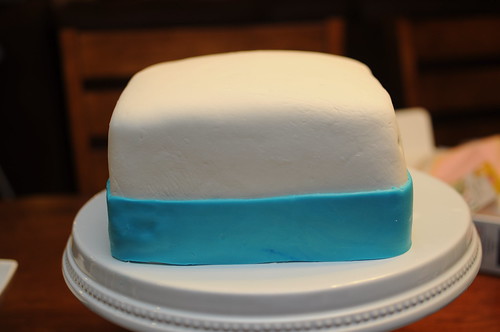
My cake making skills are still far from perfect. But luckily more layers can be used to hide things.
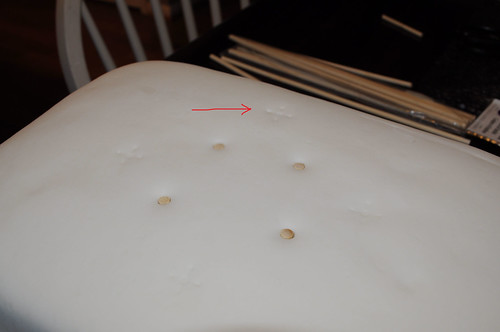
DSC_0812
Dang. There's still a thumb print.

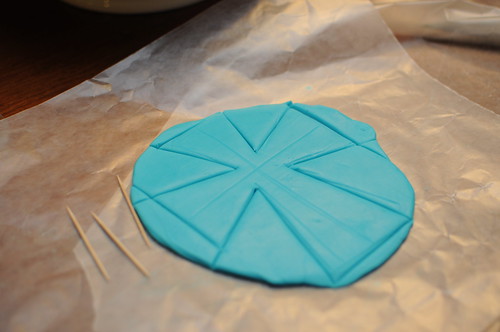
The white fondant covering the cake is my homemade stuff. And the blue is the store-bought.  I must say the store bought stuff rolls out much smoother. The consistency is very close to that of Play-doh. So its very fun to work with :)

Decorating basically involved three steps:

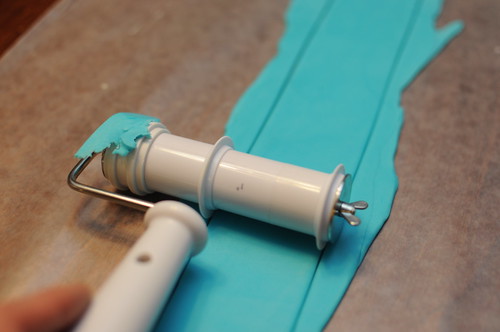
1) Wrapping a ribbon around the cake. I found this handy little tool in my toolbox.
DSC_0811

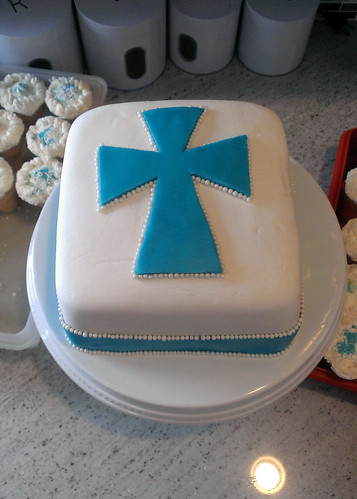
2) Adding a cross on top.

DSC_0813

3) Adding candy pearls around the cross and ribbon.
IMAG0581 

Step 3 was definitely the most tedious. Every couple of minutes one or two of little pearls would fall on the floor and bounce around for a bit. But in the end it got done. And I even got to bed at a reasonable hour!



Wednesday, February 1, 2012

Monkey Cake: Part 2

Cake baking is intense. While making the cake topper took a good chunk of time, the actual cake took longer. 

Tasks included:
- baking 3 boxes of cake mix,
- making a double batch of icing (recipe here)
- making a double batch of fondant (recipe here)
- miscellaneous
- decorating

Beginning with the fondant: I bought some pre-made store-bought fondant to make the details, including the monkey and other shapes. However, because it can get expensive to buy the pre-made stuff, I thought I'd try my hand at making some. The homemade stuff would cover the cake- be the canvas if you will.

The marshmallow recipe I found on allrecipes.com was pretty straightforward. I just underestimated the quantity it would make. (Which is why I doubled the recipe.) I also underestimated how messy it would be.

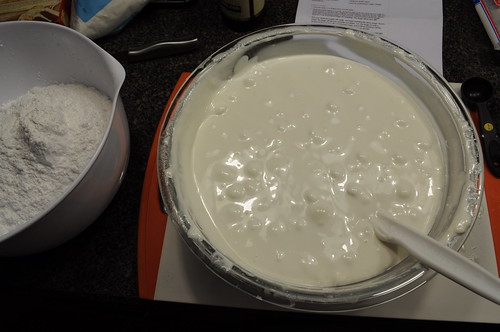
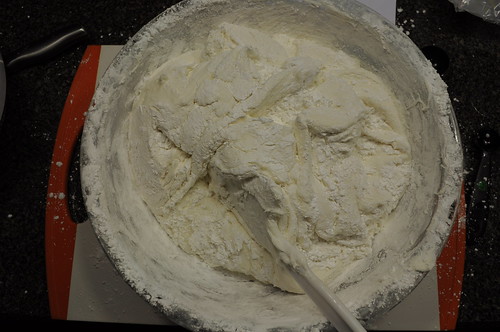
You start by melting mini marshmallows in the microwave until completely melted. This is the largest bowl I own and it was filled almost completely with marshmallow. I should have regrouped at this point, but did not. Into this bowl I still had to add four pounds of confectioners' sugar.

DSC_0252

You slowly add the sugar until the dough becomes more firm.

At this point I was seriously questioning my methods. Why do I not have a KitchenAid?

DSC_0253

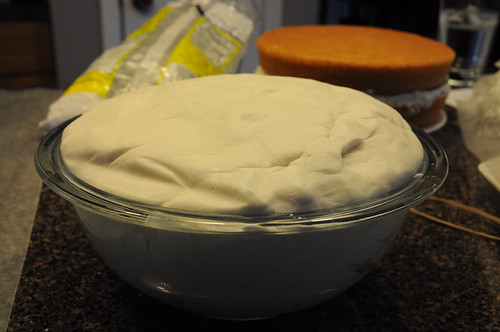
Then you knead. And knead some more. Then knead a bit more until if finally starts resembling dough. Then you toss it in the fridge overnight and hope that its easier to work with the following day.

DSC_0258

And then you clean up your mess. (The dog will handle cleaning the floor.)

DSC_0254

Next day... 

The cakes are baked. The icing is made. Now comes the assembly!

Before rolling out the fondant, the cakes got iced. Although shown here with only icing in the middle, they did eventually get fully coated. The icing works like glue for the fondant.

DSC_0257

DSC_0259

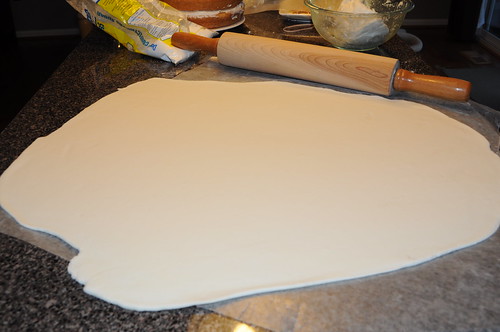
After rolling out sufficiently large pieces of fondant, the cakes were, ever so carefully, wrapped in fondant and trimmed.

DSC_0263
Starting to look like real cakes

Of course before stacking the two, the engineer in me assessed the situation and determined there needed to be structural support. After marking where the top layer should go, I added some wooden dowel rods.

DSC_0265-r

DSC_0266-r
Structurally sound

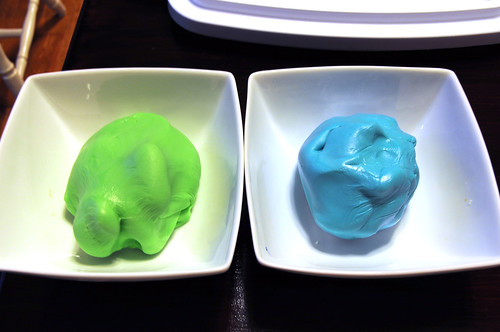
So FINALLY at this point, it was time to decorate. This is actually where the fun began. I even got so consumed with decorating that I neglected to take pictures of the progress. Oh except for these pictures of dyed fondant and of me using the cookie cutter.

DSC_0268-r

DSC_0270

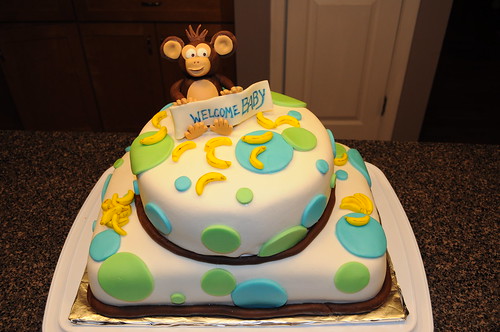
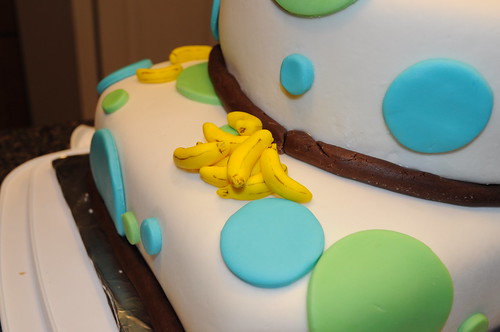
 Actually, circles were the foundation of this cake. Why? Because they are easy.

In the end the cake turned out better than I expected. A success! And despite all the planning and work that went into it, I enjoyed it. I may actually do this again.

DSC_0274


DSC_0276 

DSC_0277


Saturday, January 28, 2012

Monkey Cake: Part 1

I am happy to report that my second experience with fondant went much better than the first. I also figured out what I did wrong the first time. I did not follow directions.

DSC_0236-r


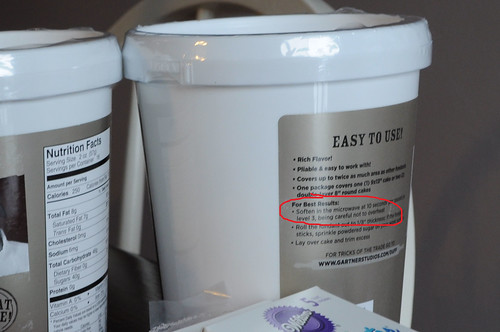
The microwave has magical powers. And microwaving rock-hard fondant in the microwave for even just 10 seconds makes a world of difference! What was once stiff and rock-like icing turns into soft, malleable Play-doh. It is wonderfully easy to work with at this point.... as long as you have Play-doh skills from your childhood.

I never got to this point last time.

Making this cake was a 2 week project. I started the first weekend by making the monkey topper. Because, really, what would a monkey cake be without the monkey?

Enter the project plan:


I got some tips on how to make the monkey from this step-by-step blog post from Cake Fixation. I also admired this fondant monkey from Etsy. So I printed out both for inspiration.


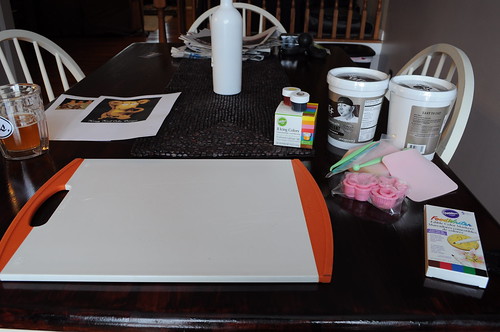
I started by getting my work area set up.

DSC_0235

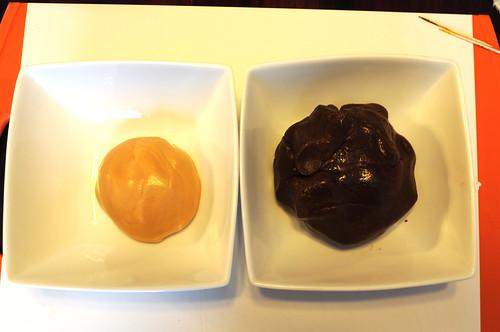
For the monkey I used store-bought fondant. This Duff brand from Michael's had pretty good reviews so I thought, what the heck. I got one white (buttercream) and one brown (chocolate). To a hunk of the white one I added some brown and yellow food coloring until I got a sort of tan/skintone color.

DSC_0238-r
Ugh terrible color photo.

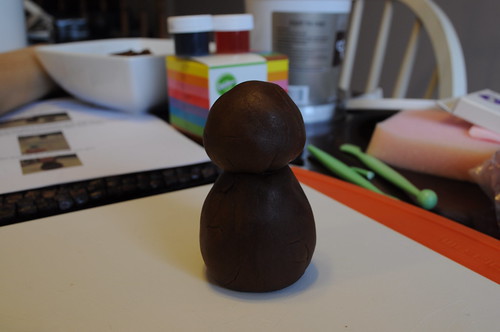
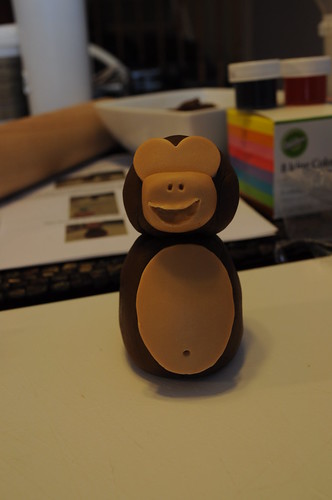
Using the chocolate fondant I made a head and a body. Securing the head to the body with a toothpick as the handy Cake Fixation post recommended.

By the way, I had some issues with the chocolate fondant. I'm not sure why it was much more crackly than the buttercream fondant (which was amazingly smooth).  Not sure what was going on here. That is why the monkey looks like he has wrinkles.

DSC_0240

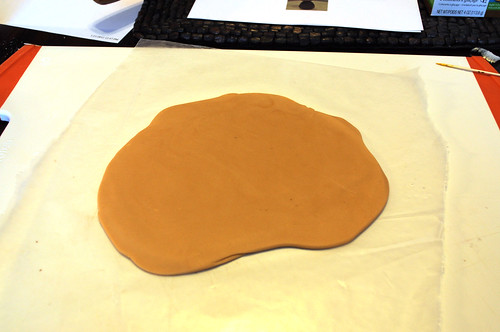
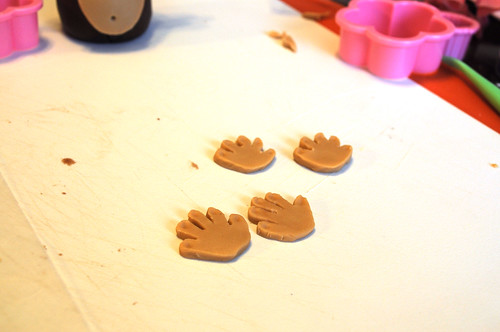
Next I rolled out the now tan-colored fondant so that I could cut out a variety of shapes including the skin around the eyes, the mouth, hands, and feet. For this I used one of my Christmas presents: an X-acto knife!

DSC_0239-r

DSC_0244-r

A tip for the hands and feet: cut out two at a time so that they are symmetrical. You can't argue with symmetry.

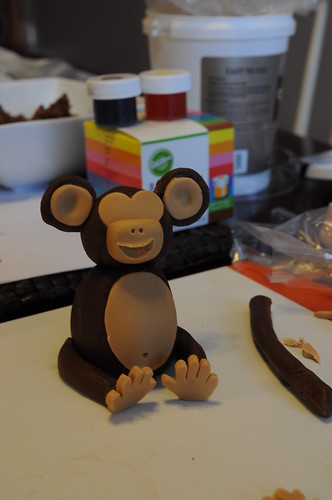
Next we assemble!

DSC_0241
Every monkey needs a cute belly button.

DSC_0242

DSC_0245

DSC_0246

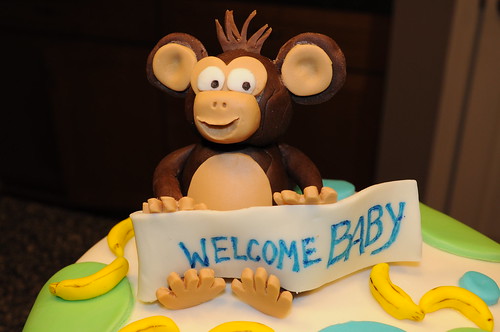
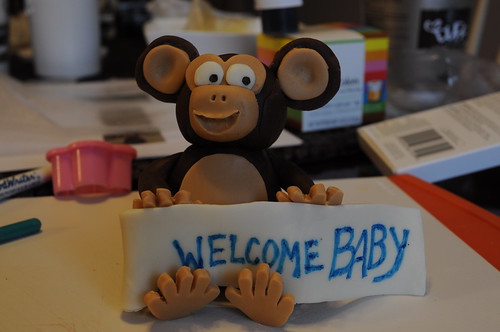
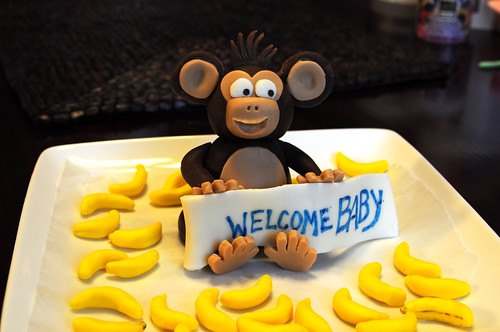
I clearly got a bit carried away and forgot to take pictures at all the steps. But you get the gist. The "Welcome Baby" banner was made by cutting out a longish, rectangular piece of white fondant. Then writing out the words with edible markers.

That's right. EDIBLE markers! Those cake people think of everything.

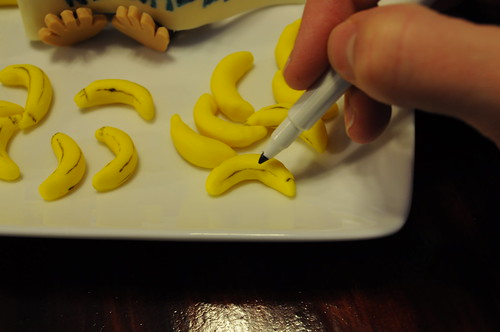
And finally, a monkey needs bananas. See here as I demonstrate the amazing edible markers.

DSC_0250

And that is it. It's done. Hours of planning, and roughly two hours of assembly time.

DSC_0249-r

Monkey got wrapped up in some plastic wrap and hung out on the counter for a week.

I had nightmares he was going to fly off the counter every time I walked by.