Showing posts with label food. Show all posts

Wednesday, August 26, 2015

Mushroom Trio

I've been trying to get back into painting. The last painting I had done was the pair of golden retrievers back in 2012. More than two years ago! This was all prior to M being born. After he turned one I think I started getting the hang of things and adapting to life with a child. Yes, it took a year. Actually, who am I kidding, I'm still adapting.

But around March I decided I really needed to get back to doing some of my hobbies. So I resolved to 1) start running again and 2) start painting again. I'm happy to report I've been pretty successful at both! Since March I've been pretty good at setting aside some time in the evenings for painting. Not every night. And not very much time. Usually I just work for about an hour. But hey, its something! I'm actually working on my third painting of the year. (More pictures to come.) Not bad considering I've always been a pretty slow painter to begin with.

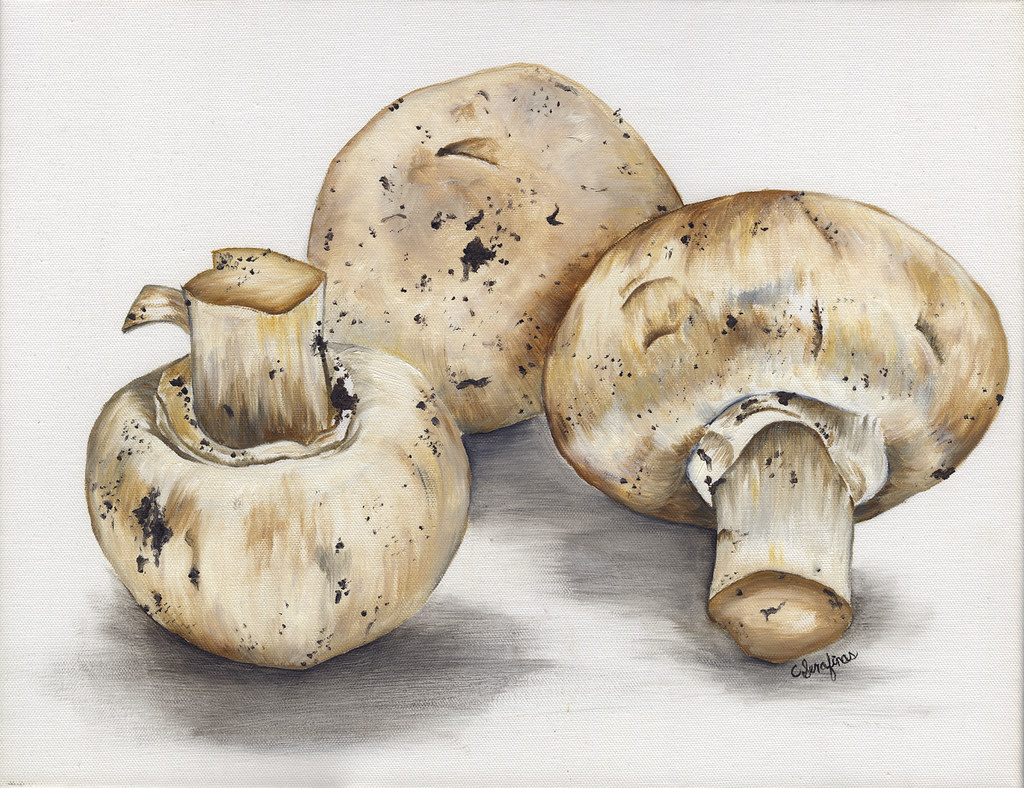
Around April was when I finished my first one. This little group of mushrooms:

MUSHROOMS RESIZE 3x5
Completed 2015
14"x18"
Oil on Canvas

If I'm being honest, this painting came about because I, on a whim, decided to pull out my painting supplies and need a quick subject. So I raided the fridge, and found mushrooms :) I always have produce on hand.

And that's how it began. Hoping to keep this up.

*** UPDATE: prints available here ***


Friday, April 11, 2014

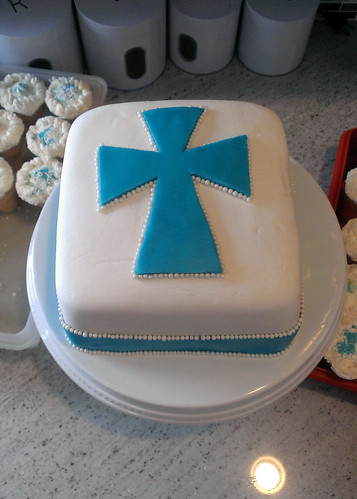
Baptism Cake

This post has been sitting as a draft for a couple of months now. We had a baptism for Baby G in February so yes, its been that long.

Much like this post, it took us a while to get things squared away for the baptism. At 6 months old, Baby G was looking sharp in his 12-18 month baptism outfit. Yes, that's right.... 12-18 month.

We invited mostly family to the baptism and I tried keeping the food pretty simple. Chicken salad sandwiches and pulled pork... from Costco, of course. However I really wanted to make the cake. I'm determined to get back into doing little crafty projects here and there. So I tasked myself with making a cake.
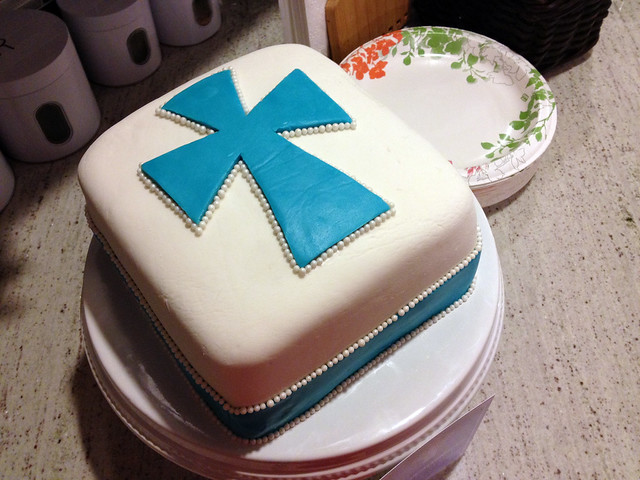
photo-2

As usual Pinterest had some good pictures for inspiration. Apparently baptism cakes can get pretty extravagant. Obviously, that's not what I was looking for. But here are some ideas I did like: here, here, and here. Basically anything that looked like it involved just placing a cross on the cake I was all about.

Since hours in the day seem pretty tight these days, I spaced out the cake making during one week. I baked and froze the cakes early in the week. And then made the fondant a couple days before I needed it. And actually, like the monkey cake I made, I saved some time by also buying a container of fondant. I bought some Fondarific fondant from Amazon and I must say, I'm a fan! So basically all the parts were prepared ahead of time and assembly happened the night before the baptism.
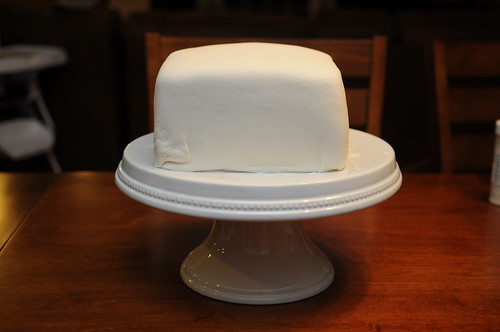
DSC_0804

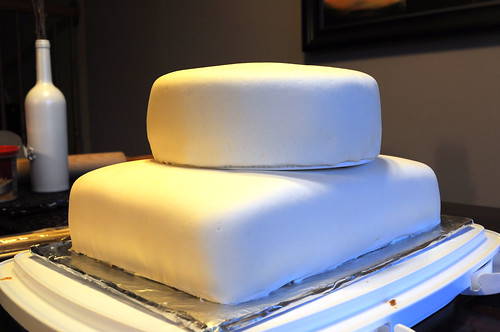
My cake making skills are still far from perfect. But luckily more layers can be used to hide things.
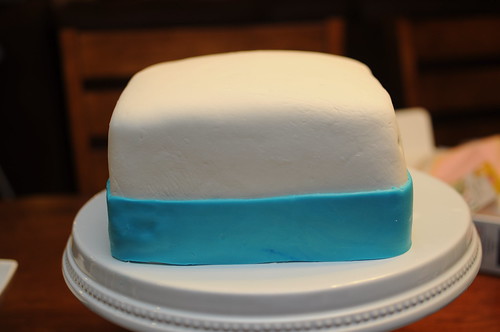
DSC_0812
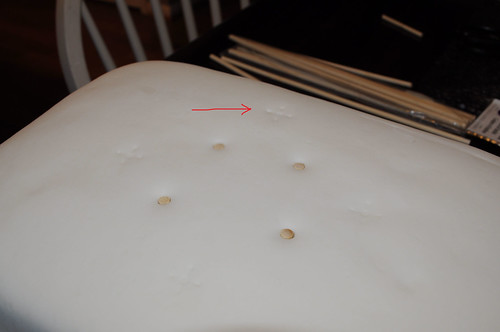
Dang. There's still a thumb print.

The white fondant covering the cake is my homemade stuff. And the blue is the store-bought.  I must say the store bought stuff rolls out much smoother. The consistency is very close to that of Play-doh. So its very fun to work with :)

Decorating basically involved three steps:

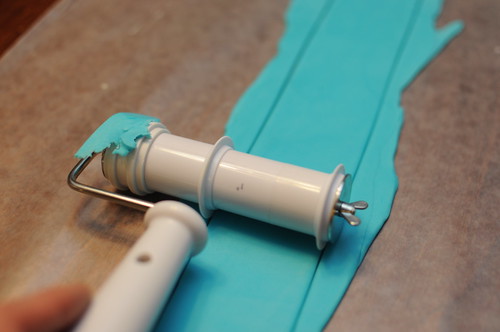
1) Wrapping a ribbon around the cake. I found this handy little tool in my toolbox.

DSC_0811

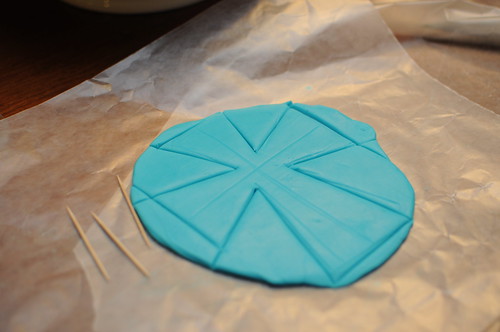
2) Adding a cross on top.

DSC_0813

3) Adding candy pearls around the cross and ribbon.

IMAG0581 

Step 3 was definitely the most tedious. Every couple of minutes one or two of little pearls would fall on the floor and bounce around for a bit. But in the end it got done. And I even got to bed at a reasonable hour!



Thursday, March 29, 2012

Avocado Pies


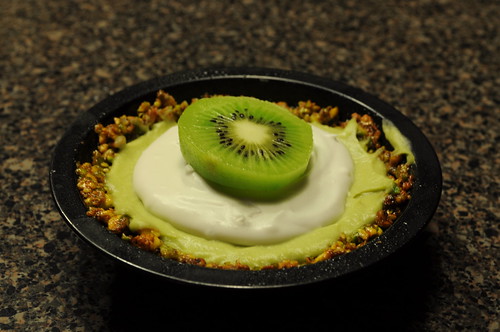
Not just avocado, but avocado and lime. And coconut. And pistachios! It sounds crazy, I know. But these pies were awesome.  I don't usually post about food, but in addition to being yummy, they were some good-looking pies.

DSC_0109


I also forgot to mention the kiwi. Lots of green here. Very St. Patty's Day appropriate.

Yes, I did make them on St. Patrick's Day.

Here is the recipe. Go make these:


Wednesday, February 1, 2012

Monkey Cake: Part 2

Cake baking is intense. While making the cake topper took a good chunk of time, the actual cake took longer. 

Tasks included:
- baking 3 boxes of cake mix,
- making a double batch of icing (recipe here)
- making a double batch of fondant (recipe here)
- miscellaneous
- decorating

Beginning with the fondant: I bought some pre-made store-bought fondant to make the details, including the monkey and other shapes. However, because it can get expensive to buy the pre-made stuff, I thought I'd try my hand at making some. The homemade stuff would cover the cake- be the canvas if you will.

The marshmallow recipe I found on allrecipes.com was pretty straightforward. I just underestimated the quantity it would make. (Which is why I doubled the recipe.) I also underestimated how messy it would be.

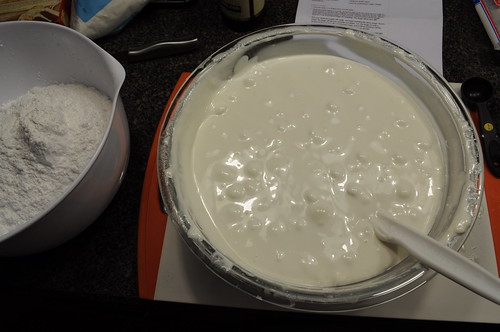
You start by melting mini marshmallows in the microwave until completely melted. This is the largest bowl I own and it was filled almost completely with marshmallow. I should have regrouped at this point, but did not. Into this bowl I still had to add four pounds of confectioners' sugar.

DSC_0252

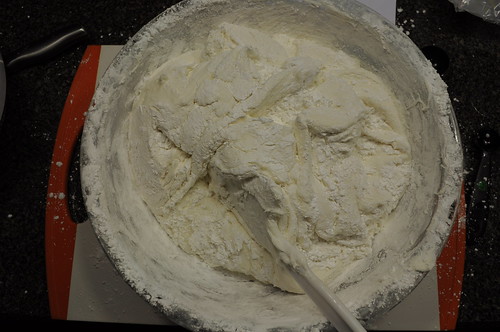
You slowly add the sugar until the dough becomes more firm.

At this point I was seriously questioning my methods. Why do I not have a KitchenAid?

DSC_0253

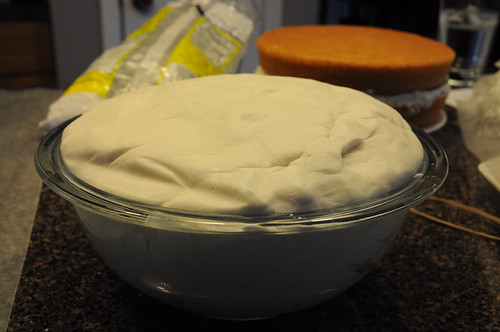
Then you knead. And knead some more. Then knead a bit more until if finally starts resembling dough. Then you toss it in the fridge overnight and hope that its easier to work with the following day.

DSC_0258

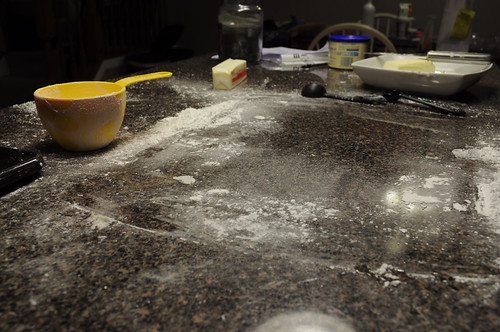
And then you clean up your mess. (The dog will handle cleaning the floor.)

DSC_0254

Next day... 

The cakes are baked. The icing is made. Now comes the assembly!

Before rolling out the fondant, the cakes got iced. Although shown here with only icing in the middle, they did eventually get fully coated. The icing works like glue for the fondant.

DSC_0257

DSC_0259

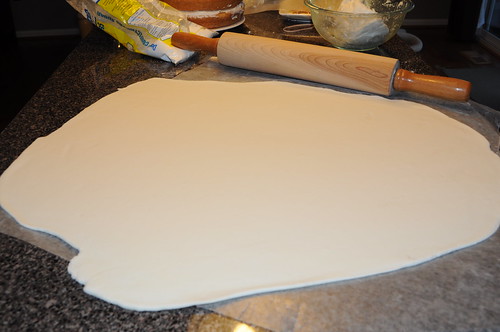
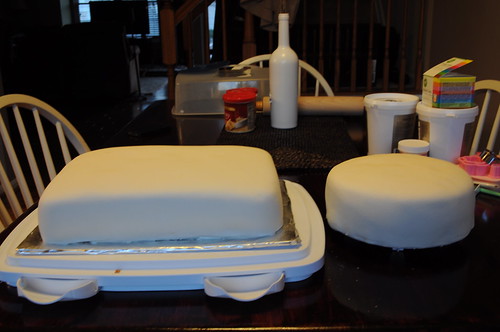
After rolling out sufficiently large pieces of fondant, the cakes were, ever so carefully, wrapped in fondant and trimmed.

DSC_0263
Starting to look like real cakes

Of course before stacking the two, the engineer in me assessed the situation and determined there needed to be structural support. After marking where the top layer should go, I added some wooden dowel rods.

DSC_0265-r

DSC_0266-r
Structurally sound

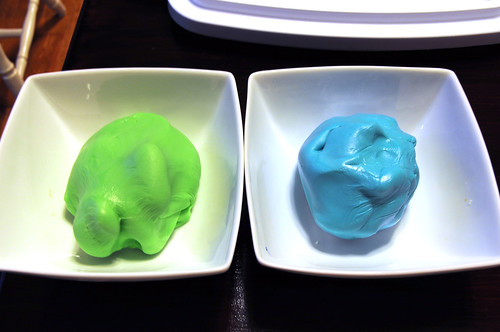
So FINALLY at this point, it was time to decorate. This is actually where the fun began. I even got so consumed with decorating that I neglected to take pictures of the progress. Oh except for these pictures of dyed fondant and of me using the cookie cutter.

DSC_0268-r

DSC_0270

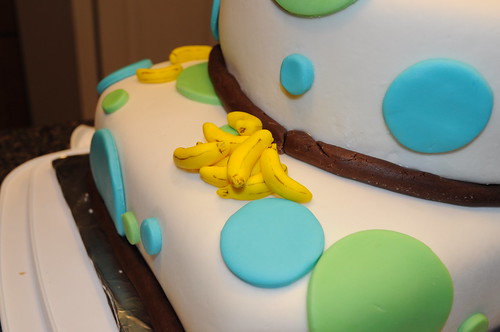
 Actually, circles were the foundation of this cake. Why? Because they are easy.

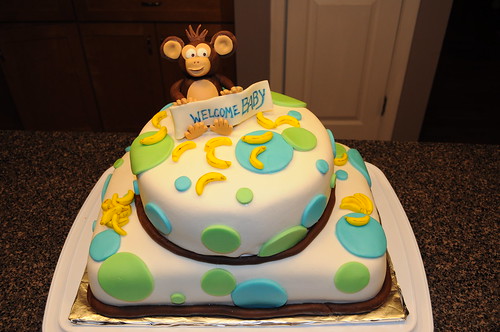
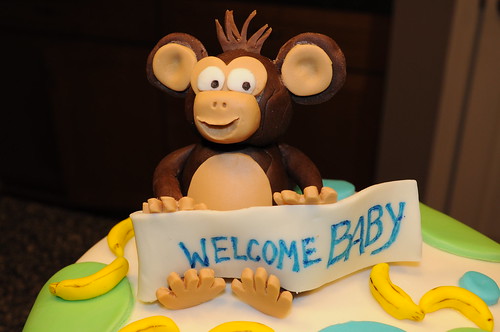
In the end the cake turned out better than I expected. A success! And despite all the planning and work that went into it, I enjoyed it. I may actually do this again.

DSC_0274


DSC_0276 

DSC_0277


Sunday, December 18, 2011

It's beginning to look a lot like Christmas


Christmas is exactly a week away. Less than a week if you consider that Mike and I do our own Christmas on the night of the 23rd.

House decorating is done. Most of our Christmas shopping is done. We have a lot of baking to do, but that won't happen till later this week. Aaand I'm pretty pumped for the pumpkin pie and various cookie recipes that we are trying out this year. I've also been busy working on a variety of crafty project/ presents that I'll share later- after the gift-giving is done.

In the meantime, a tour through our festive home...

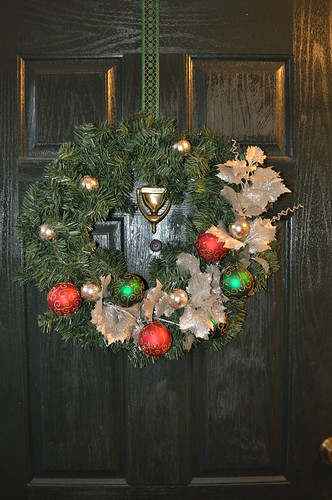
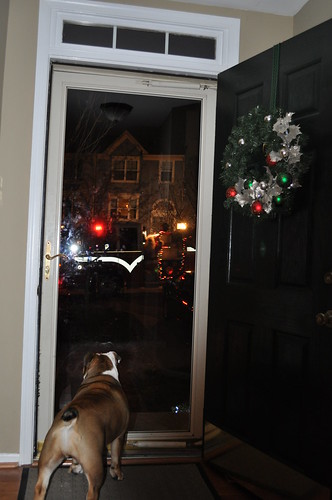
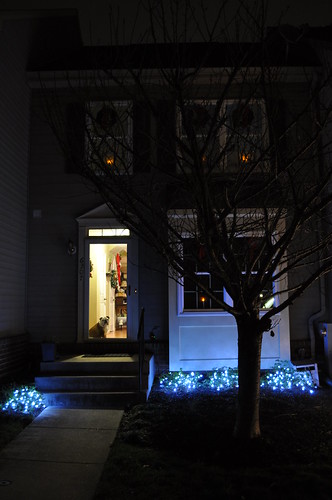
Starting with our front door. This year's new wreath.

DSC_0050

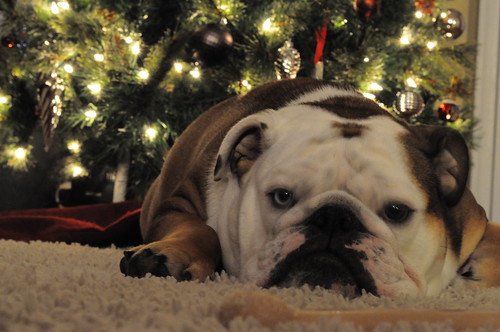
Meatball resting by the tree.


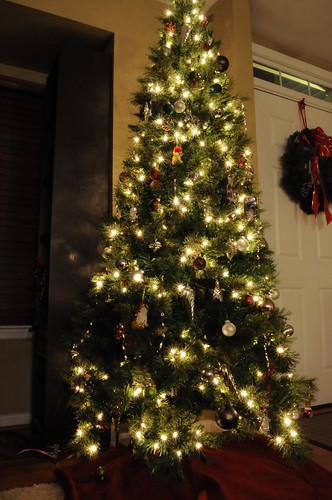
THE tree.

DSC_0098

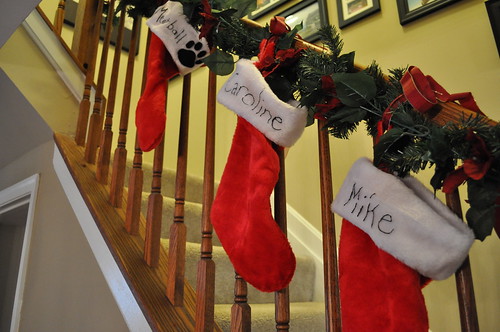
The stockings.

DSC_0118

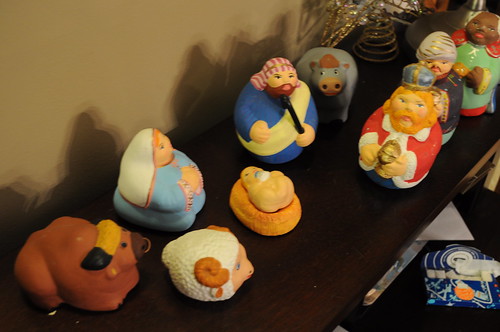
Best nativity scene. Ever.

DSC_0110

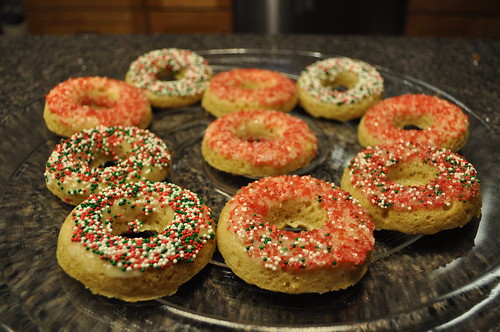
Home-made Christmas donuts. Recipe here.

DSC_0114

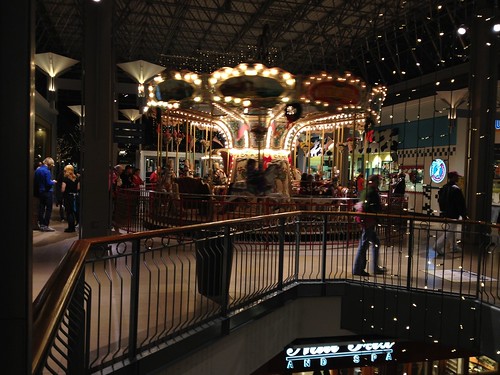
Not our home, but the carousel at the mall.


Meatball watching Santa go by on the fire engine! (By the way, I LOVE this tradition.)

DSC_0112

A view from outside.

DSC_0104

Now I'm counting down the days till this weekend. And looking forward to my short week at work :)


Sunday, November 27, 2011

Farm to Table

This year we had two Thanksgivings- one with each side of the family. Saturday night was the one with my side. For Thanksgiving #2 I contributed the turkey. It doesn't seem quite fair that my sister made corn bread while I got tasked with the turkey, particularly because I have never cooked one. But it was my own fault. I really wanted to try a local turkey. Lately (as in this year) I haven't been eating much meat. So when I do, I like it to be special. When I found a turkey farm near our house, Maple Lawn Turkey Farm,  I quickly reserved a bird!

Wednesday afternoon was the beginning of my little turkey adventure. Luckily I wasn't in a rush picking up the turkey because it was super busy. Plus I spent some time poking around the farm.


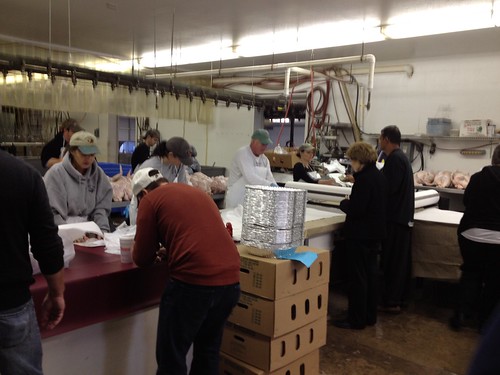
First things, first- picking up the turkey. The turkey I got (later named Pete) was 18.5 pounds. Never having bought a turkey before, I was slightly concerned that it would be too small. When turkey sizes go up to 40 pounds, 18.5 doesn't seem like much! Turns out, I had nothing to worry about.

If you look carefully, you can see the turkeys lined up in the back.

 After taking care of business I explored the farm a bit.


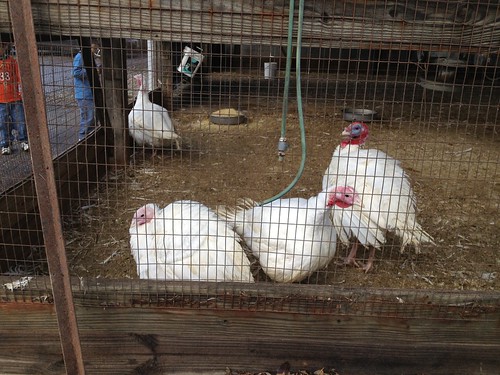
First stop, Pete's buddies.


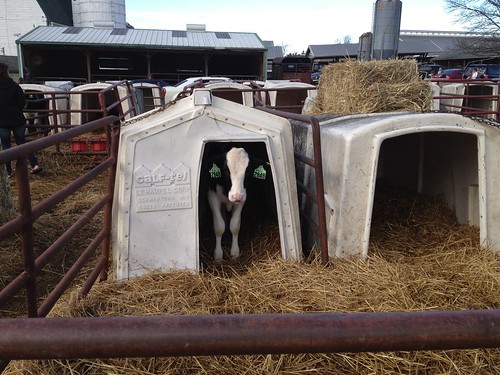
Next, the baby cows! This is Frank and his neighbor. I took many more pictures of Frank not pictured here. He was so friendly! Had I been a little braver, I actually would have pet him.


Aaand that was the end of my farm adventure. I had to get home before traffic picked up. 

Now onto the cooking...

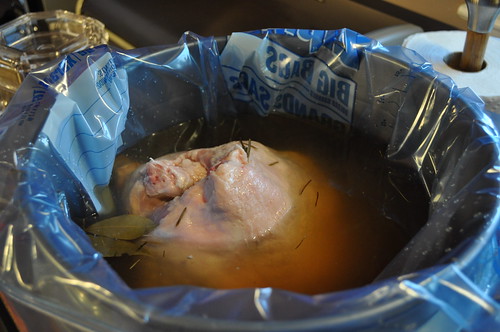
Brining. Since I had never cooked a turkey before, brining was also something I had never done before. Enter, Pioneer Woman. I found this excellent brine recipe here.


I actually made the brine in advance to use on Friday.

DSC_0029

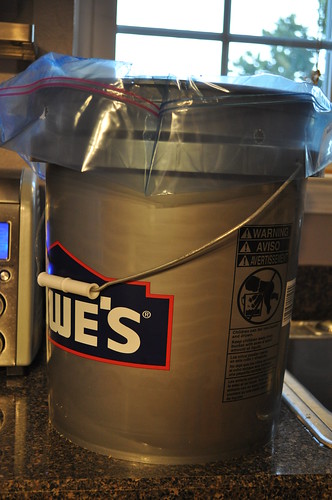
What sort of container is large enough to hold a brining turkey, you ask? A Lowes bucket. A Lowes bucket lined with a huge Ziploc bag.

DSC_0030

And so the turkey sat until Saturday morning, when it was time to start roasting.
Jump ahead about 3.5 hours, and here's the result.

DSC_0033

Looks good, right? Jump ahead another 3 hours and we have safely transported the turkey to my parent's house.


DSC_0034
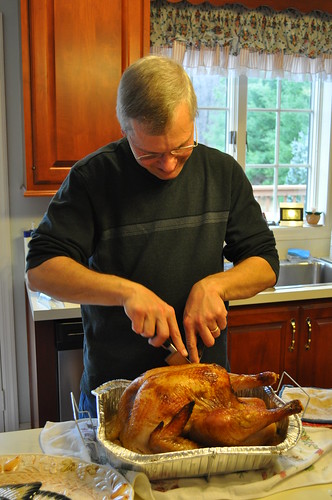
Expert carver

Time to feast.

DSC_0038

See all of those sides? Yup, they're the reason for all the turkey leftovers. Multiple days of planning for such a short meal. Until next year.