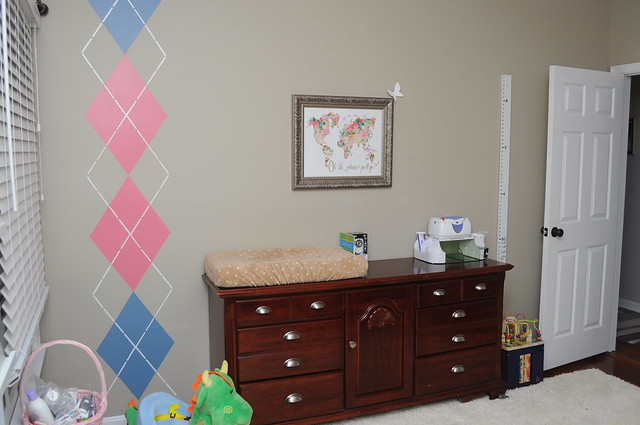
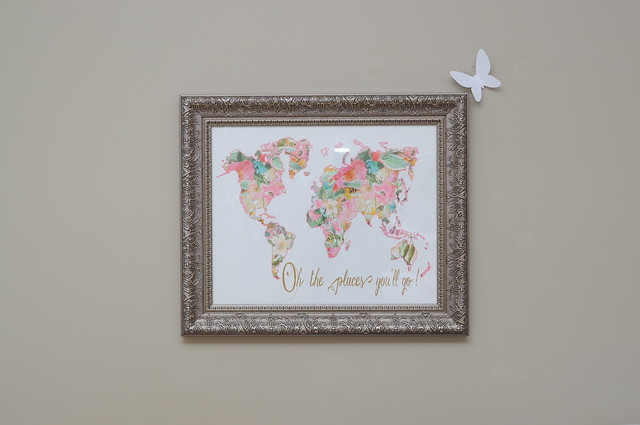
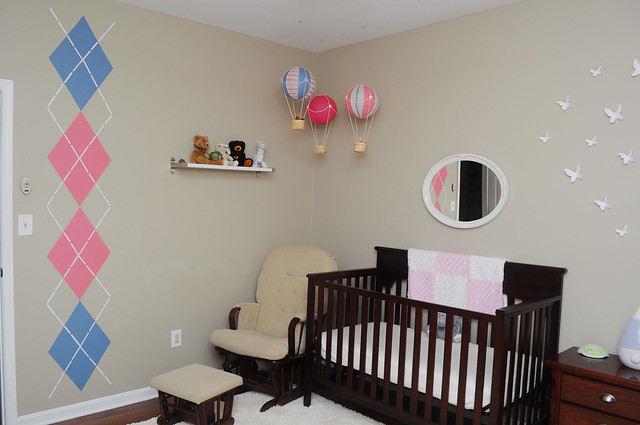
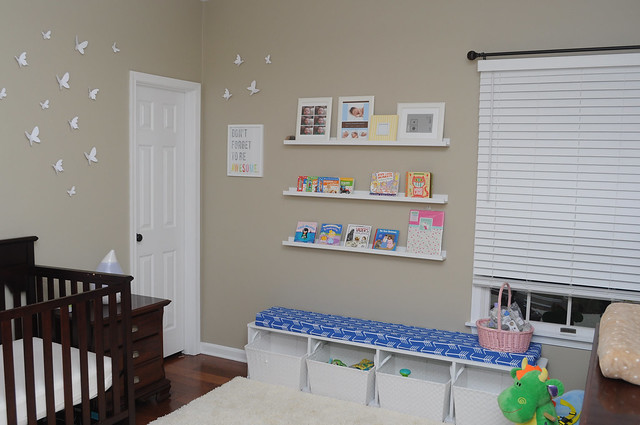
I think I'm about done with the nursery. Like everything else, it's been a work in progress. This weekend we bought replacement hardware for the crib hardware that we lost. So from a functional standpoint, the nursery is now ready to go! And tonight my butterflies arrived. Mike rolled his eyes. I however was super excited and hung them immediately :)
I
I do have a couple details to clean up still. Like finding some art for the picture frames on the ledge. Not a big rush though. The pictures of Baby M are still cute :)
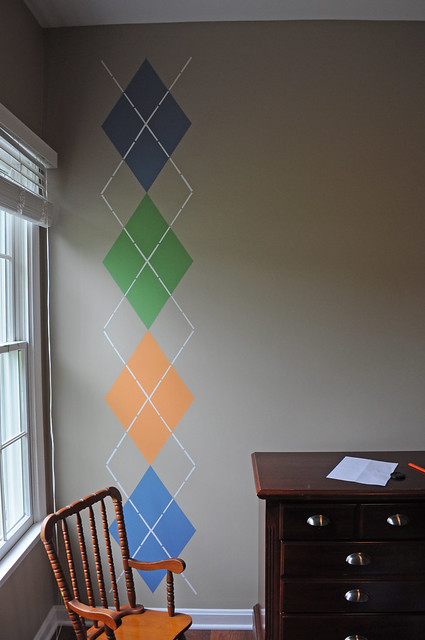
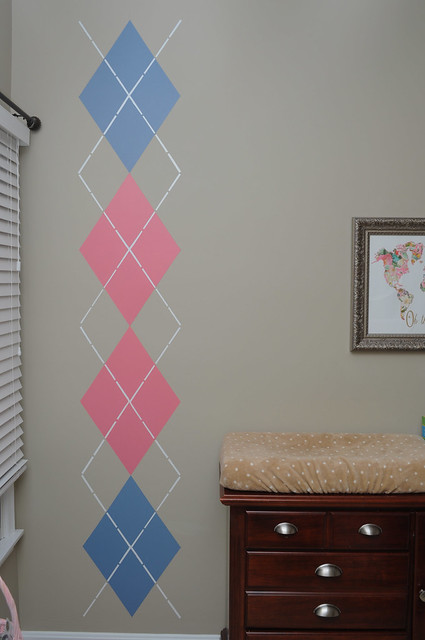
I didn't really have any plans going into this project. All I knew was that I wanted to keep the original argyle pattern but change out the colors.
Here's a little before and after:
I also decided to get rid of the accent wall:
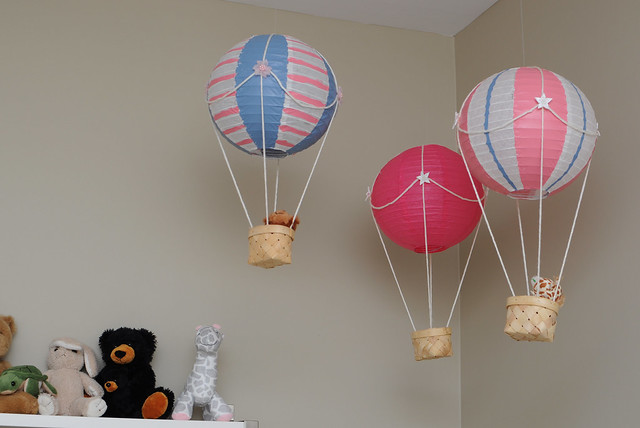
From there I found the hot air balloon idea on Pinterest (of course). Then saw the world map print on Etsy and thought it was a good match. You know... hot air balloons... travel... maps...
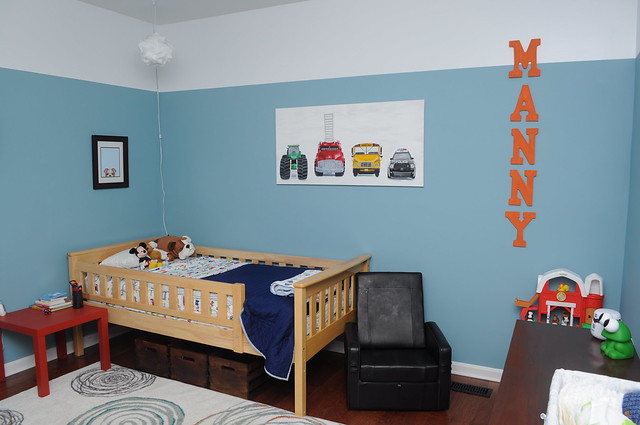
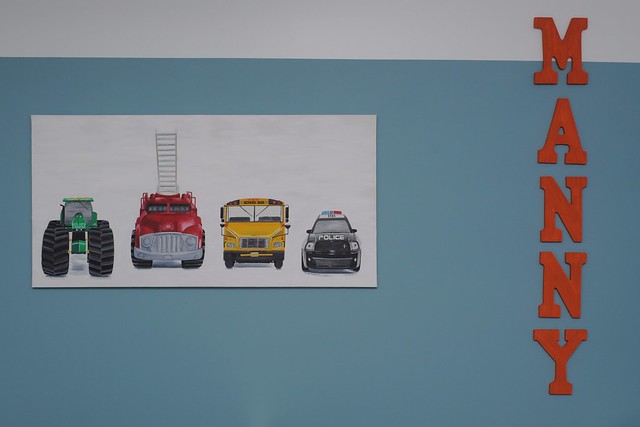
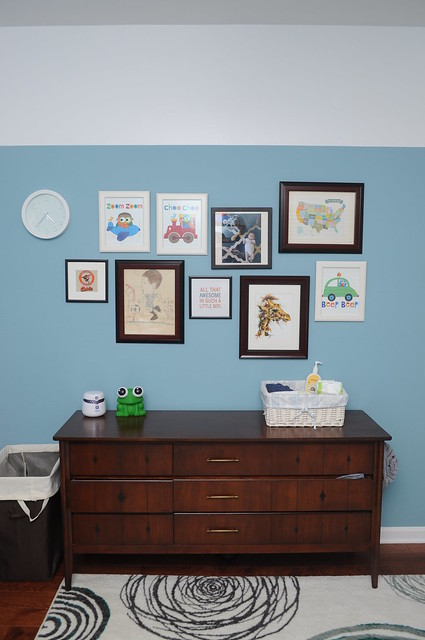
I finally finished the car painting!! But I haven't taken pictures yet so instead I'll share pictures of M's big boy room.
It feels like I just finished decorating the nursery for him. It's hard to believe it has been more than two years! And now we have moved our little guy into a big boy room. <tears>
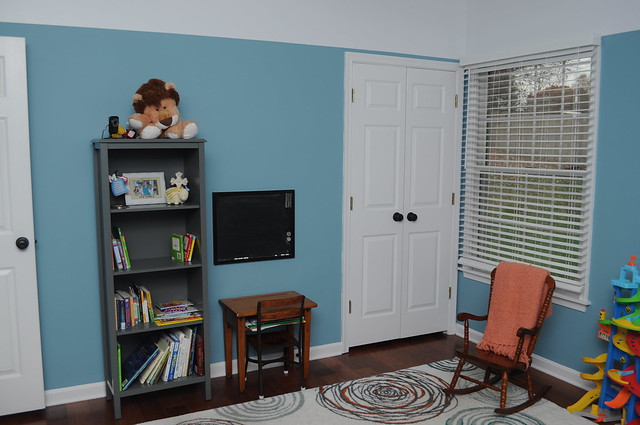
With the impending arrival of baby #2 we decided to move M out of the nursery and into the former guest room. And luckily we had already painted the guest room a blue color, so the move didn't involve much painting :) (I'm patting myself on the back for that one.) I did end up painting a white border along the ceiling of the room. The room doesn't get much sun during the day so I thought this would lighten things up a bit.
As you can see I've already hung the car painting. It's actually not quite complete in these pictures but I was using it as a place holder.
It seems like this transition took a couple months. Between moving out the guest room furniture, painting, acquiring a bed, and adding some accessories it took me awhile. I'm moving slowly these days...
The dresser was recycled from me. It's actually a piece that I bought second hand about two years ago. We decided that rather than buying the kid new furniture we would finally buy ourselves some adult bedroom furniture :) Actually a lot of things in this room are recycled. The dresser. The bed we got from M's cousin. The orange side tables are recycled and painted Ikea tables. And the little desk and rocking chair came from M's grandparents. Pretty much the only thing we moved out of the nursery was the rug.
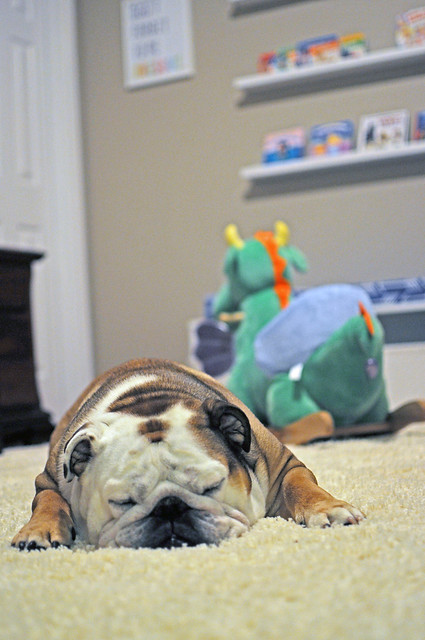
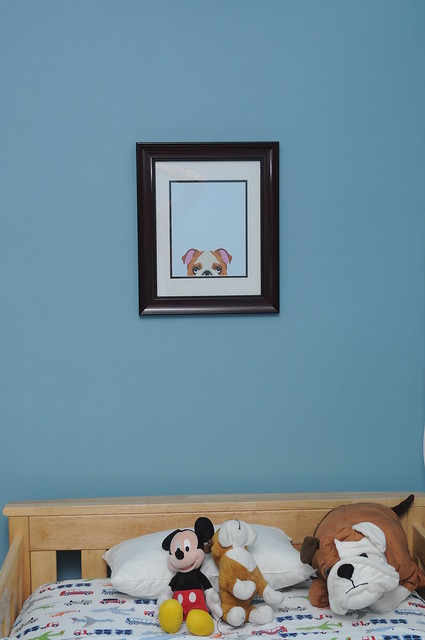
And what's a room without a tribute to our favorite dog breed?
I bought the print from Etsy and had it printed. The only thing missing is a blue eye ;)
Up next is the new nursery. Then I can take a break from redecorating!
We've been in the new house for about a month and a half now. Of all the projects we decided to tackle first, it was the garage. Who doesn't want a nice looking garage?
This project started with a gifted box of leftover RustOleum Garage paint and lofty dreams of transforming the garage from the dirty, bug graveyard that it was, into something... clean. We would paint the floor, paint the walls, and then put up some nice shelving and organize. And then we realized that all of this would be easier to do before moving in all of our tools and usual garage items. Like they say... there's no time like the present.
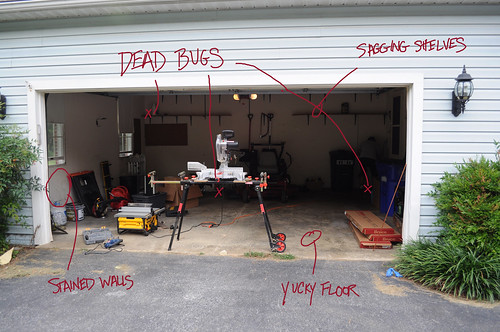
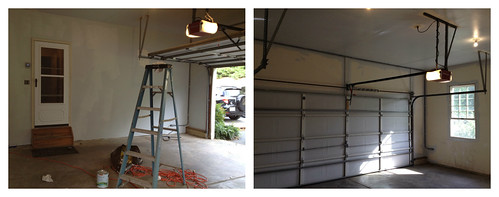
This is what we had starting off:
Obviously, the serious issue was the bugs.
So we pulled out the Shop Vac and did some heavy cleaning. The transformation had begun.
Here are a couple more before pictures as we started to paint.
Multiple weeks later we were done. Yes, multiple weeks, all for a garage. We spent a weekend prepping the walls. A weekend painting the walls. Weekends started to blend together. Then the floor had to be cleaned with a warning label-ridden concrete cleaner.
Finally, we got to the point where it was time to paint the floor. Mike painted while I sprinkled the glitter (or as Mike calls them, more plainly: flakes). This was the highlight of the project. Picture me tossing these flakes in the air like I was showering someone with rice at their wedding. It was a great time!
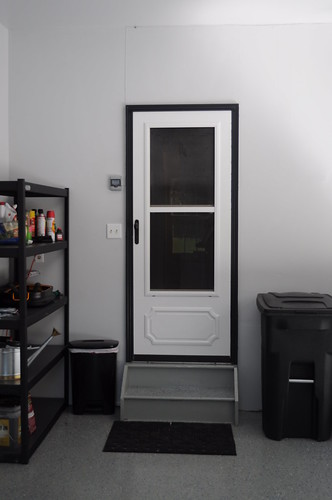
After some drying time and what seemed like entirely too long to be spending on a garage..... we finished. Hooray! We haven't parked the cars in here yet, but we'll get there.
Another one of my favorite features is the black trim. I've always wanted to try out black trim but have never been brave enough to do it inside the house. So we did it outside. Eventually we'll add some trim around the windows too. Details matter!
One last picture of the glitter:
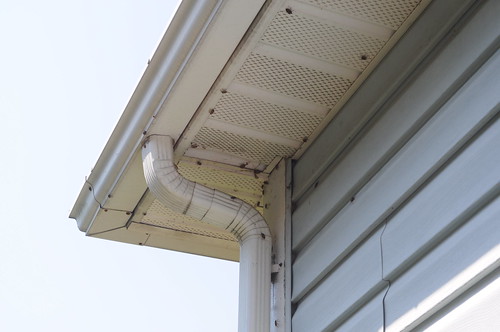
Of course since finishing, the stinkbugs have emerged in full force. We are trying our best to keep the infestations to a minimum. But it's difficult. They are some tricky little fellas...

 I
I