
Another Thanksgiving come and gone. It stresses me out to think Christmas is right around the corner. To all of those crazy people who have their Christmas shopping done already... how are you so organized??
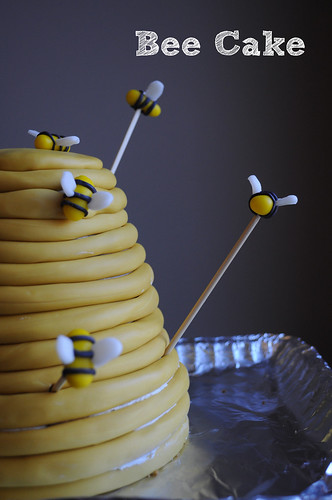
My most important contribution to Thanksgiving this year may have been this beehive cake I made. You see, in addition to celebrating Thanksgiving, we always celebrate my uncle's birthday. This year my uncle's birthday fell right on Thanksgiving. So in addition to making deviled eggs, I volunteered to bring a birthday cake. I had the perfect cake in mind.
Quite awhile back, I had pinned this cake on Pinterest- a beehive cake. I immediately thought of my uncle, who somewhat recently, took up beekeeping. This cake sat in my Pinterest to-do pile for months before I finally got the chance to go for it.
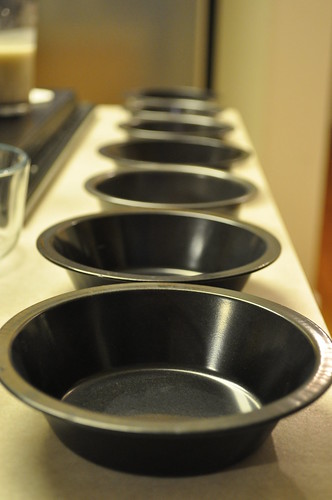
My first step was to construct the beehive. I didn't want the cake to be overly huge since it would be competing with Thanksgiving pies. My goal was to use one recipe's worth of cake. To accomplish the job I pulled out all of my mini cake/pie pans, plus a few Pyrex containers.
I was very close to going with a boxed mix of red velvet cake, but at the last minute changed my mind. Because I had quite a bit of whole wheat flour that needed to be used I searched around for a whole wheat cake recipe. That's right - whole wheat. Surprisingly I found a few, but Joy the Baker won me over with her Honey Whole Wheat Pound Cake recipe. Bees = honey.
The recipe made a decent amount of batter that I used to fill my various sized cake pans. I ended up with quite the assortment.
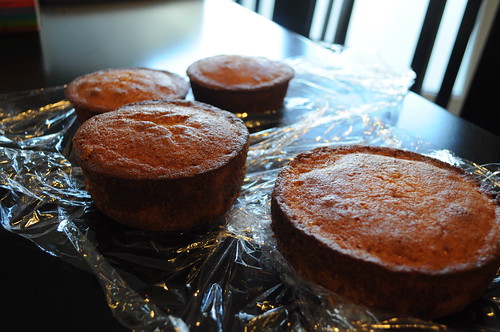 |
| plus a couple more not pictured! |
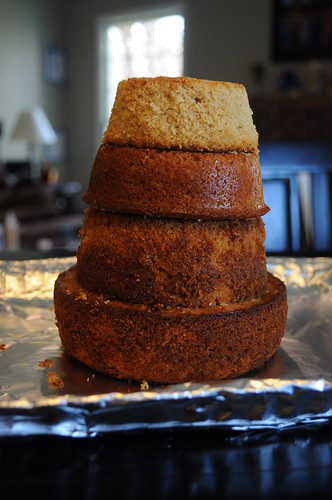
To shape the beehive I simply started with the largest cake, and built upwards. The top layer was trimmed down slightly more than the others.
Here is where I and the original beehive recipe diverged. The original recipe tells you to sort of shape the beehive by using a spatula against the icing. I figured this would be my downfall as I am not very good at smoothly icing cakes.
Exhibit A:
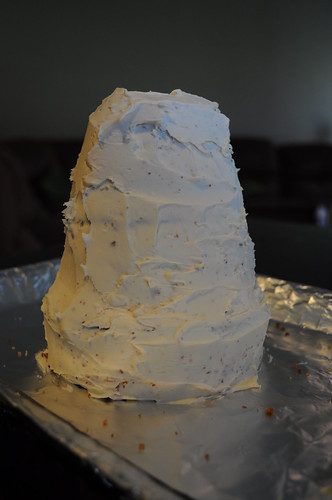
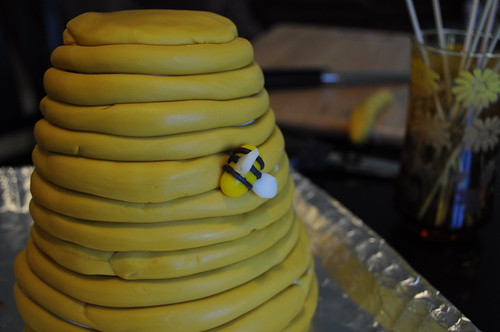
The crumbs ruin everything. This is the primary reason I decided to cover the whole cake in fondant. Creating coils of fondant icing seemed far easier than smoothly icing a cake.
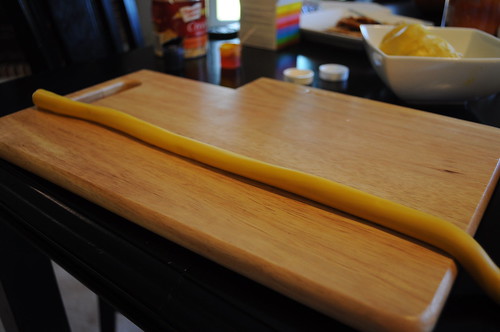

By the way, this was my second time using the Duff brand pre-made fondant and I continue to be pleased. It's slightly pricey but with a 40% off Michael's coupon I think it's worth it for smaller projects.
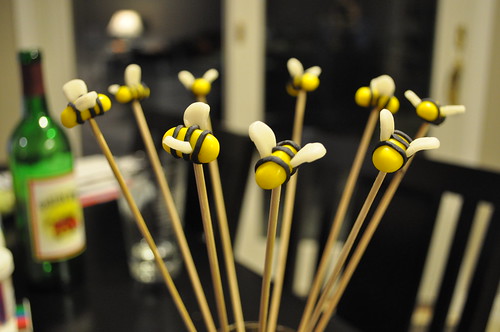
I'll pause here for a moment to go over the construction of the bees. Those little bees make the cake.
Using some yellow colored fondant I formed a bunch of these Mike and Ike-looking guys.
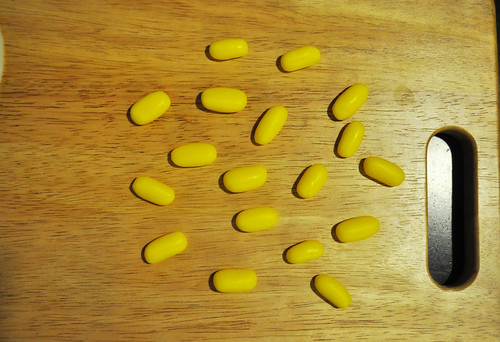
Spitting image, right?
Originally my plan was to use an edible marker to draw black lines on the bees. But I was not happy with the results. I don't think I'll use them again. Yes, they work. But the color is much more bold and even if you just use colored fondant. So Plan B won.
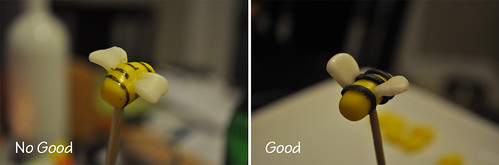
After a couple episodes of Love It or List It and making yellow Mike and Ikes and bee wings, I finally had a small army. Yes, there was some cursing along the way when wings would fall off. But eventually I got there. I was well on my way.
Ok, not rewind back to the cake making. After using the yellow coils to create the beehive, the individual bees came in handy to cover up blemishes. The rest I stuck in the cake using their kabob sticks.
That was really mostly it. After getting past the time consuming process of making the bees, the rest of the cake got put together fairly quickly. The final touch was a little "Don't Worry Beez Happy" sign we picked up.
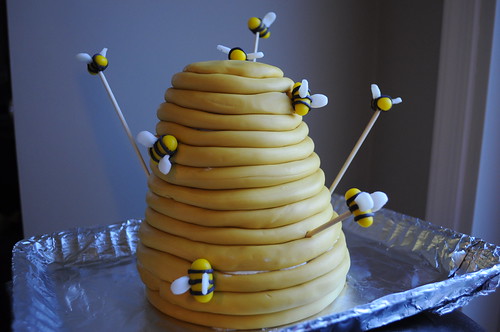


So cute!!
ReplyDeletethanks! :)
Delete