
I am happy to report that my second experience with fondant went much better than the first. I also figured out what I did wrong the first time. I did not follow directions.
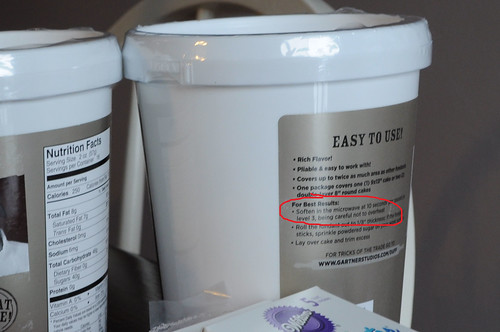
The microwave has magical powers. And microwaving rock-hard fondant in the microwave for even just 10 seconds makes a world of difference! What was once stiff and rock-like icing turns into soft, malleable Play-doh. It is wonderfully easy to work with at this point.... as long as you have Play-doh skills from your childhood.
I never got to this point last time.
Making this cake was a 2 week project. I started the first weekend by making the monkey topper. Because, really, what would a monkey cake be without the monkey?
Enter the project plan:

I got some tips on how to make the monkey from this step-by-step blog post from Cake Fixation. I also admired this fondant monkey from Etsy. So I printed out both for inspiration.

I started by getting my work area set up.
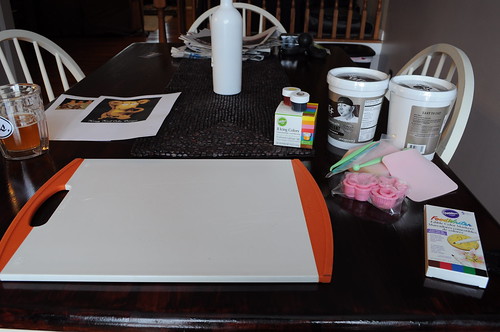
For the monkey I used store-bought fondant. This Duff brand from Michael's had pretty good reviews so I thought, what the heck. I got one white (buttercream) and one brown (chocolate). To a hunk of the white one I added some brown and yellow food coloring until I got a sort of tan/skintone color.
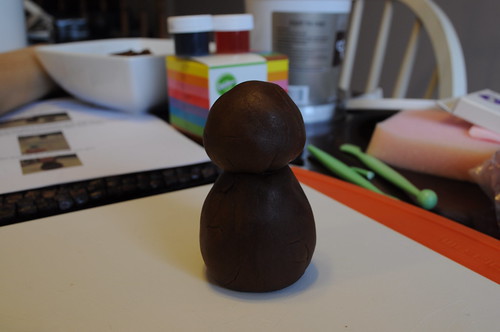
Using the chocolate fondant I made a head and a body. Securing the head to the body with a toothpick as the handy Cake Fixation post recommended.
By the way, I had some issues with the chocolate fondant. I'm not sure why it was much more crackly than the buttercream fondant (which was amazingly smooth). Not sure what was going on here. That is why the monkey looks like he has wrinkles.
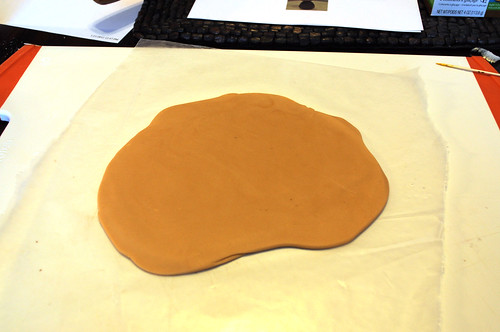
Next I rolled out the now tan-colored fondant so that I could cut out a variety of shapes including the skin around the eyes, the mouth, hands, and feet. For this I used one of my Christmas presents: an X-acto knife!
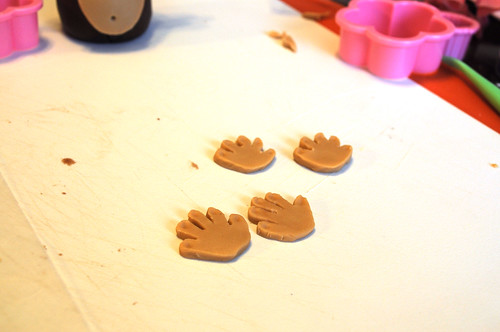
A tip for the hands and feet: cut out two at a time so that they are symmetrical. You can't argue with symmetry.
Next we assemble!

I clearly got a bit carried away and forgot to take pictures at all the steps. But you get the gist. The "Welcome Baby" banner was made by cutting out a longish, rectangular piece of white fondant. Then writing out the words with edible markers.
That's right. EDIBLE markers! Those cake people think of everything.
And finally, a monkey needs bananas. See here as I demonstrate the amazing edible markers.
And that is it. It's done. Hours of planning, and roughly two hours of assembly time.
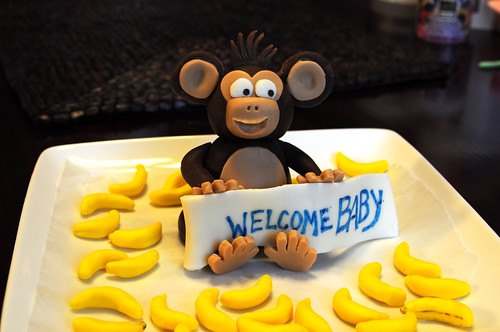
Monkey got wrapped up in some plastic wrap and hung out on the counter for a week.
I had nightmares he was going to fly off the counter every time I walked by.
I never got to this point last time.
Making this cake was a 2 week project. I started the first weekend by making the monkey topper. Because, really, what would a monkey cake be without the monkey?
Enter the project plan:
I got some tips on how to make the monkey from this step-by-step blog post from Cake Fixation. I also admired this fondant monkey from Etsy. So I printed out both for inspiration.

I started by getting my work area set up.
For the monkey I used store-bought fondant. This Duff brand from Michael's had pretty good reviews so I thought, what the heck. I got one white (buttercream) and one brown (chocolate). To a hunk of the white one I added some brown and yellow food coloring until I got a sort of tan/skintone color.
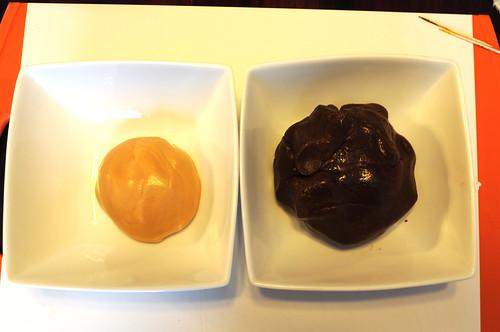 |
| Ugh terrible color photo. |
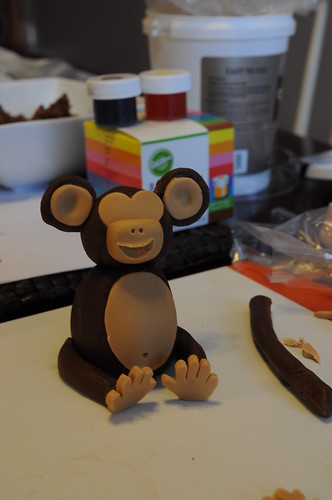
Using the chocolate fondant I made a head and a body. Securing the head to the body with a toothpick as the handy Cake Fixation post recommended.
By the way, I had some issues with the chocolate fondant. I'm not sure why it was much more crackly than the buttercream fondant (which was amazingly smooth). Not sure what was going on here. That is why the monkey looks like he has wrinkles.
Next I rolled out the now tan-colored fondant so that I could cut out a variety of shapes including the skin around the eyes, the mouth, hands, and feet. For this I used one of my Christmas presents: an X-acto knife!
A tip for the hands and feet: cut out two at a time so that they are symmetrical. You can't argue with symmetry.
Next we assemble!
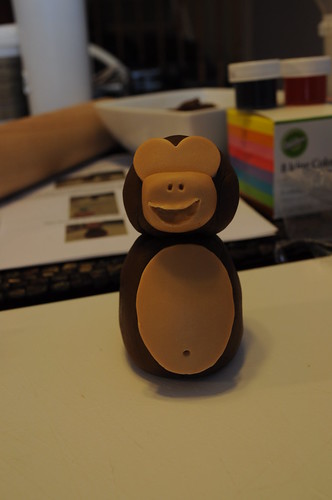 |
| Every monkey needs a cute belly button. |
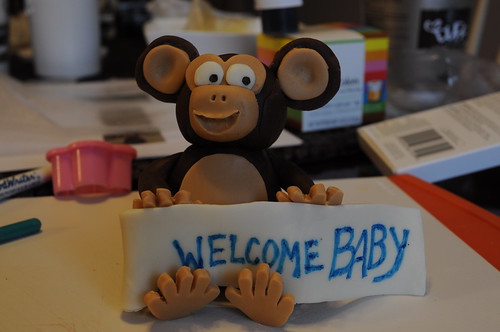
I clearly got a bit carried away and forgot to take pictures at all the steps. But you get the gist. The "Welcome Baby" banner was made by cutting out a longish, rectangular piece of white fondant. Then writing out the words with edible markers.
That's right. EDIBLE markers! Those cake people think of everything.
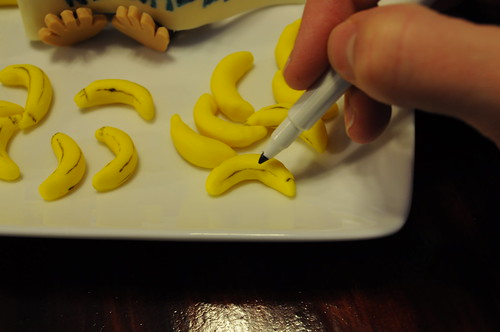
And finally, a monkey needs bananas. See here as I demonstrate the amazing edible markers.
And that is it. It's done. Hours of planning, and roughly two hours of assembly time.
Monkey got wrapped up in some plastic wrap and hung out on the counter for a week.
I had nightmares he was going to fly off the counter every time I walked by.


No comments:
Post a Comment