
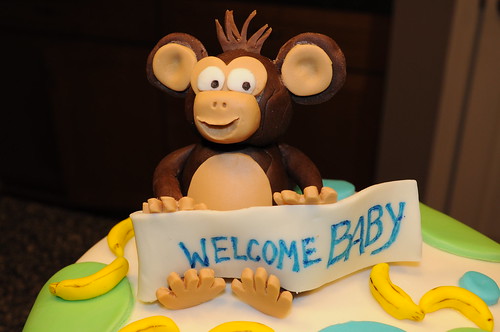
Cake baking is intense. While making the cake topper took a good chunk of time, the actual cake took longer.
Tasks included:
- baking 3 boxes of cake mix,
- making a double batch of icing (recipe here)
- making a double batch of fondant (recipe here)
- miscellaneous
- decorating
Beginning with the fondant: I bought some pre-made store-bought fondant to make the details, including the monkey and other shapes. However, because it can get expensive to buy the pre-made stuff, I thought I'd try my hand at making some. The homemade stuff would cover the cake- be the canvas if you will.
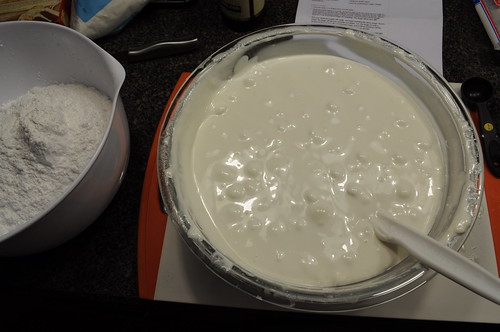
The marshmallow recipe I found on allrecipes.com was pretty straightforward. I just underestimated the quantity it would make. (Which is why I doubled the recipe.) I also underestimated how messy it would be.
You start by melting mini marshmallows in the microwave until completely melted. This is the largest bowl I own and it was filled almost completely with marshmallow. I should have regrouped at this point, but did not. Into this bowl I still had to add four pounds of confectioners' sugar.
You slowly add the sugar until the dough becomes more firm.
At this point I was seriously questioning my methods. Why do I not have a KitchenAid?
At this point I was seriously questioning my methods. Why do I not have a KitchenAid?
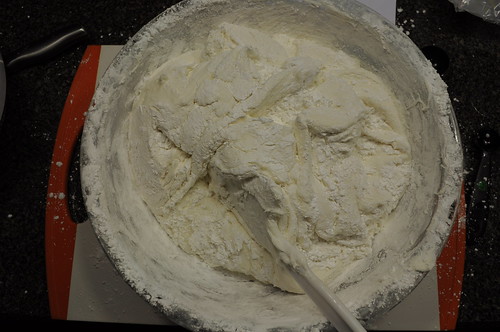
Then you knead. And knead some more. Then knead a bit more until if finally starts resembling dough. Then you toss it in the fridge overnight and hope that its easier to work with the following day.
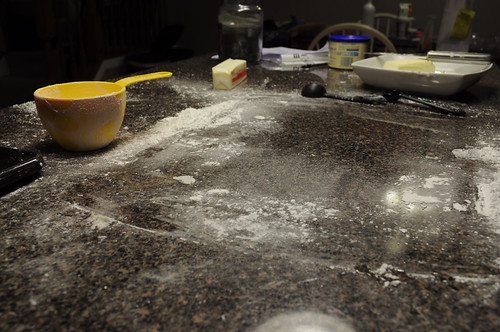
And then you clean up your mess. (The dog will handle cleaning the floor.)
Next day...
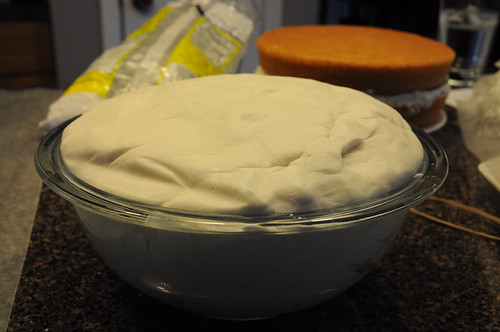
The cakes are baked. The icing is made. Now comes the assembly!
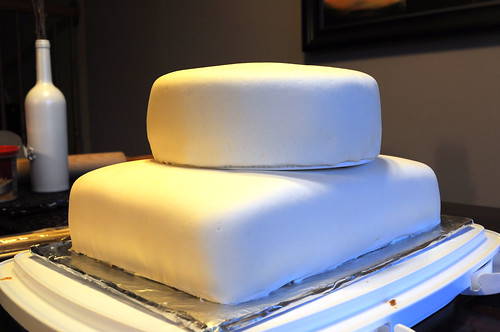
Before rolling out the fondant, the cakes got iced. Although shown here with only icing in the middle, they did eventually get fully coated. The icing works like glue for the fondant.

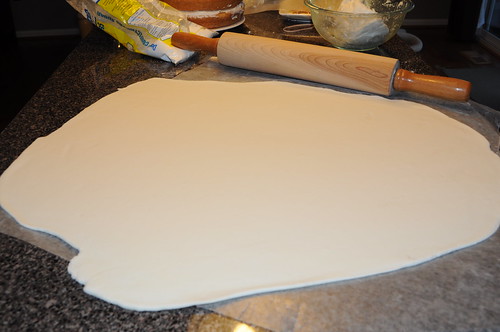
After rolling out sufficiently large pieces of fondant, the cakes were, ever so carefully, wrapped in fondant and trimmed.
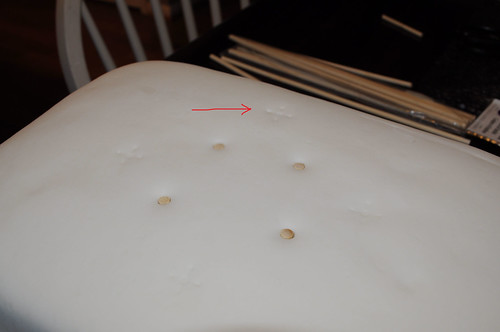
Of course before stacking the two, the engineer in me assessed the situation and determined there needed to be structural support. After marking where the top layer should go, I added some wooden dowel rods.
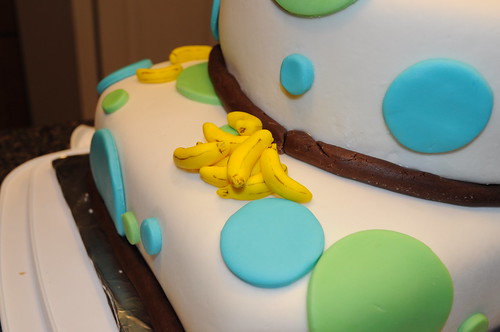
So FINALLY at this point, it was time to decorate. This is actually where the fun began. I even got so consumed with decorating that I neglected to take pictures of the progress. Oh except for these pictures of dyed fondant and of me using the cookie cutter.


Actually, circles were the foundation of this cake. Why? Because they are easy.
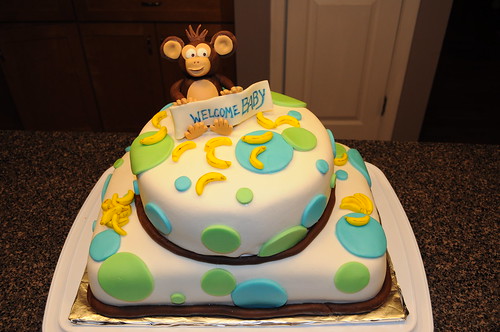
In the end the cake turned out better than I expected. A success! And despite all the planning and work that went into it, I enjoyed it. I may actually do this again.
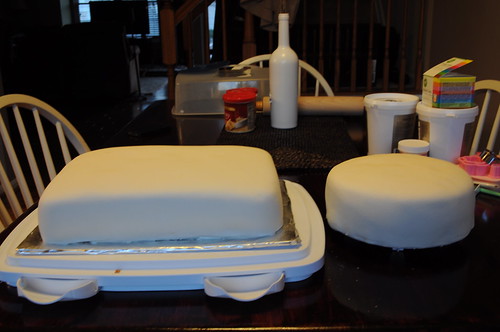 |
| Starting to look like real cakes |
Of course before stacking the two, the engineer in me assessed the situation and determined there needed to be structural support. After marking where the top layer should go, I added some wooden dowel rods.
 |
| Structurally sound |
So FINALLY at this point, it was time to decorate. This is actually where the fun began. I even got so consumed with decorating that I neglected to take pictures of the progress. Oh except for these pictures of dyed fondant and of me using the cookie cutter.
Actually, circles were the foundation of this cake. Why? Because they are easy.
In the end the cake turned out better than I expected. A success! And despite all the planning and work that went into it, I enjoyed it. I may actually do this again.


No comments:
Post a Comment