
Much like this post, it took us a while to get things squared away for the baptism. At 6 months old, Baby G was looking sharp in his 12-18 month baptism outfit. Yes, that's right.... 12-18 month.
We invited mostly family to the baptism and I tried keeping the food pretty simple. Chicken salad sandwiches and pulled pork... from Costco, of course. However I really wanted to make the cake. I'm determined to get back into doing little crafty projects here and there. So I tasked myself with making a cake.
As usual Pinterest had some good pictures for inspiration. Apparently baptism cakes can get pretty extravagant. Obviously, that's not what I was looking for. But here are some ideas I did like: here, here, and here. Basically anything that looked like it involved just placing a cross on the cake I was all about.
Since hours in the day seem pretty tight these days, I spaced out the cake making during one week. I baked and froze the cakes early in the week. And then made the fondant a couple days before I needed it. And actually, like the monkey cake I made, I saved some time by also buying a container of fondant. I bought some Fondarific fondant from Amazon and I must say, I'm a fan! So basically all the parts were prepared ahead of time and assembly happened the night before the baptism.

My cake making skills are still far from perfect. But luckily more layers can be used to hide things.
 |
| Dang. There's still a thumb print. |
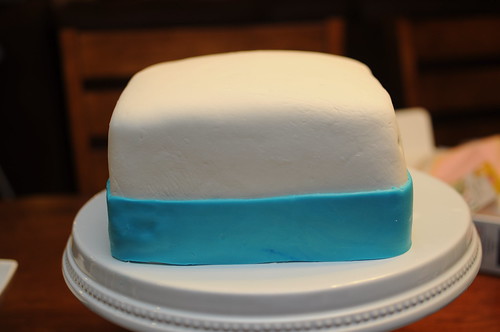
The white fondant covering the cake is my homemade stuff. And the blue is the store-bought. I must say the store bought stuff rolls out much smoother. The consistency is very close to that of Play-doh. So its very fun to work with :)
Decorating basically involved three steps:
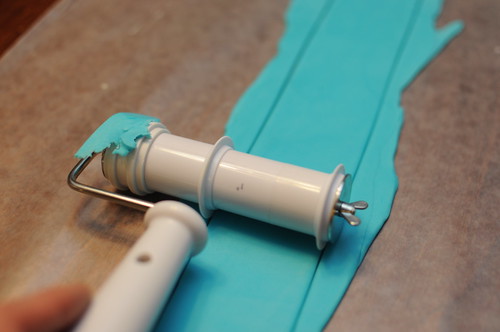
1) Wrapping a ribbon around the cake. I found this handy little tool in my toolbox.
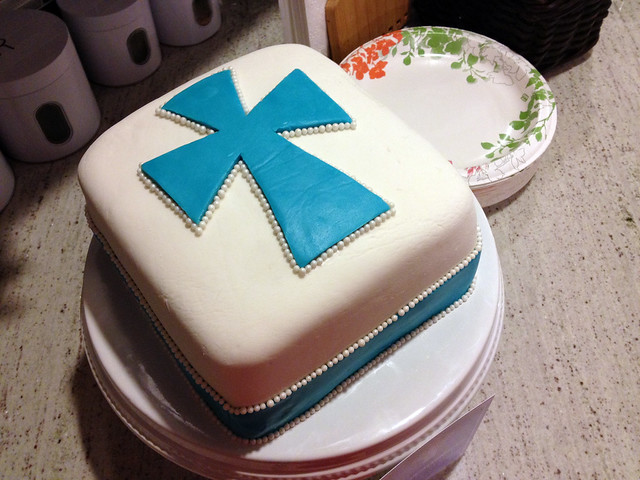
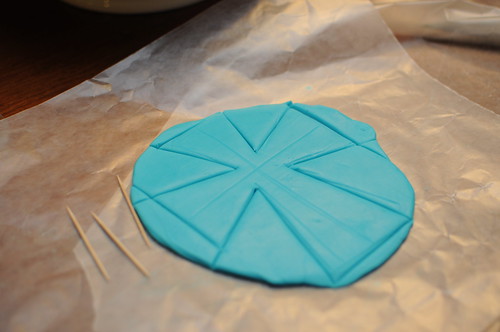
2) Adding a cross on top.
3) Adding candy pearls around the cross and ribbon.
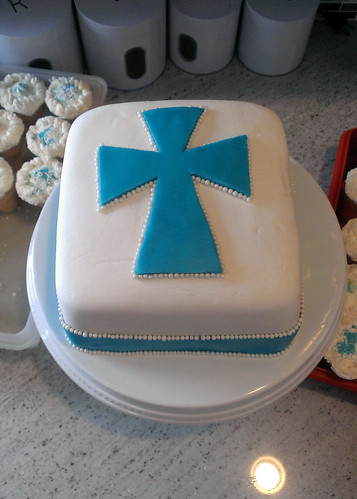
Step 3 was definitely the most tedious. Every couple of minutes one or two of little pearls would fall on the floor and bounce around for a bit. But in the end it got done. And I even got to bed at a reasonable hour!


No comments:
Post a Comment